This is a review of Torque Screwdriver (SCTK-04) from Jani Nordman in Facebook.
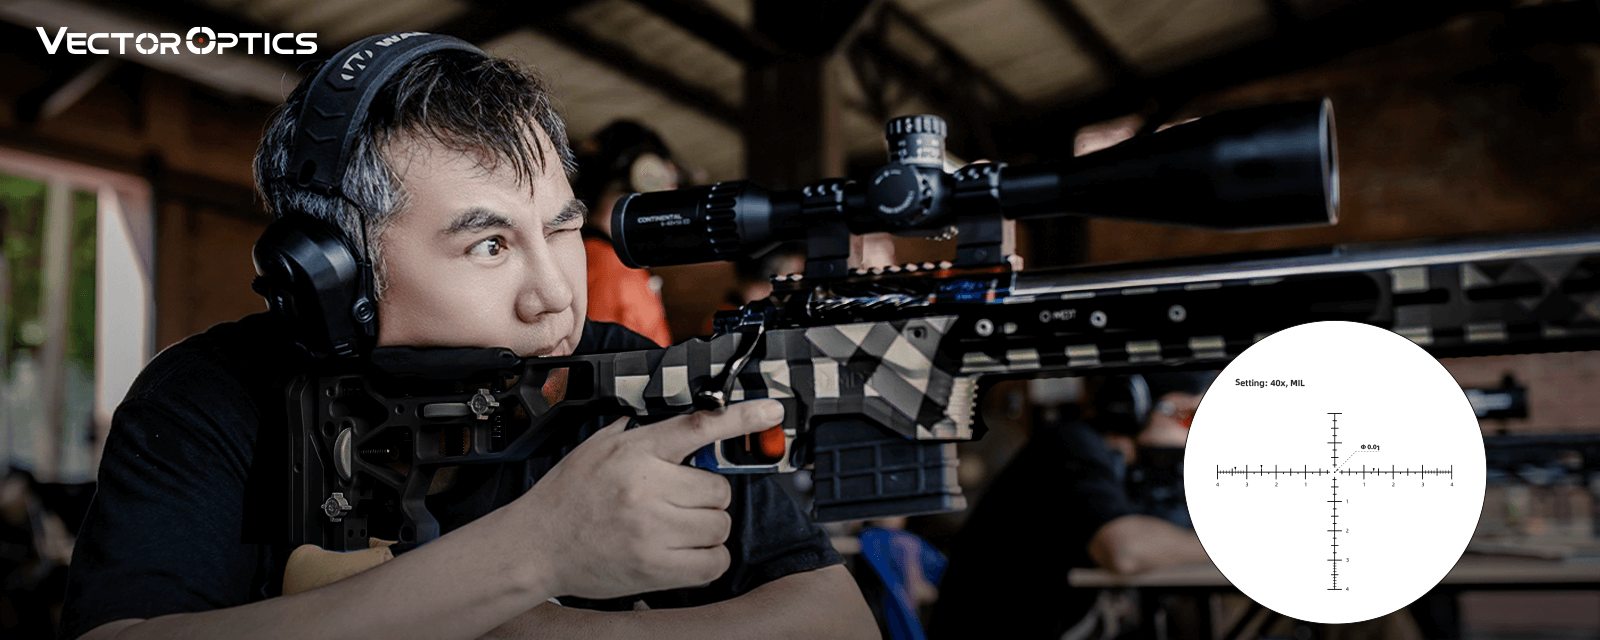
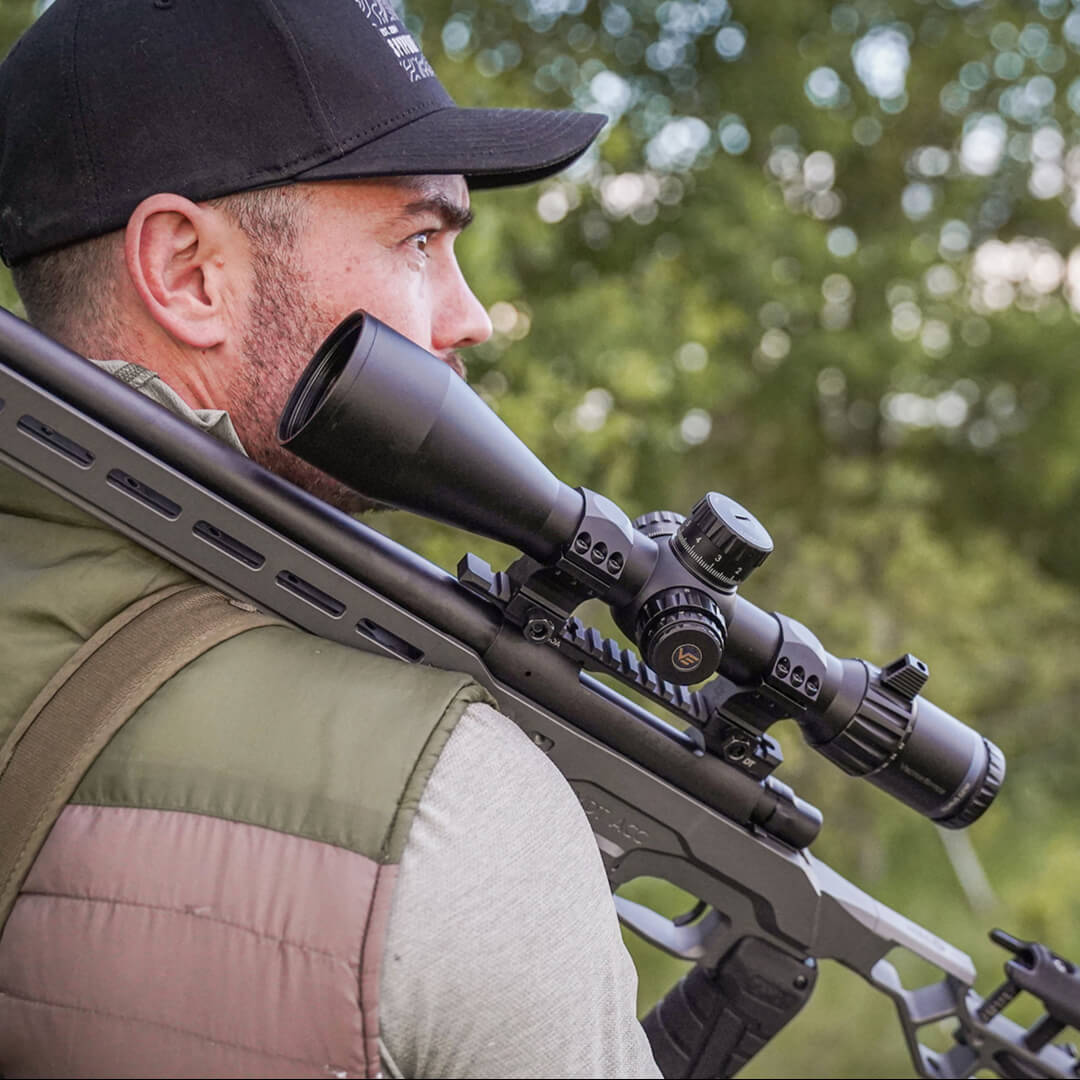
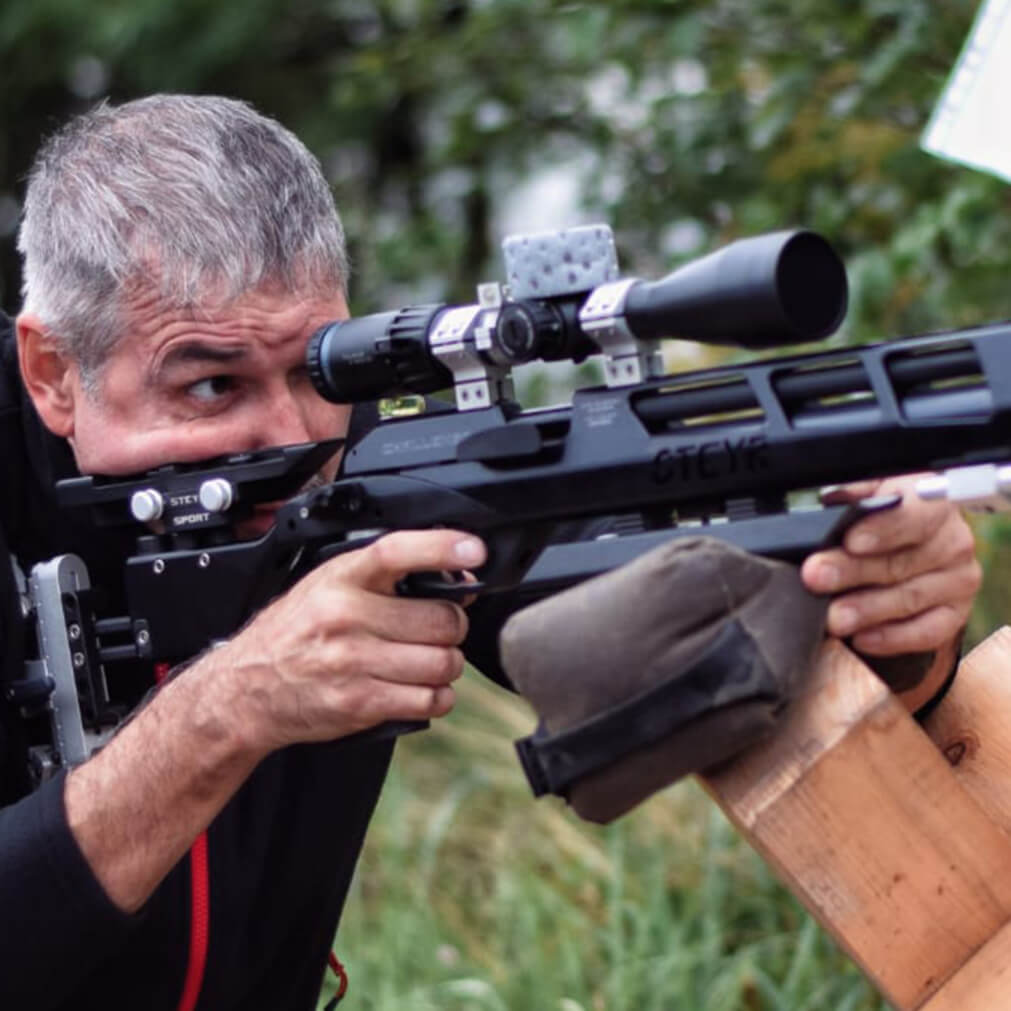
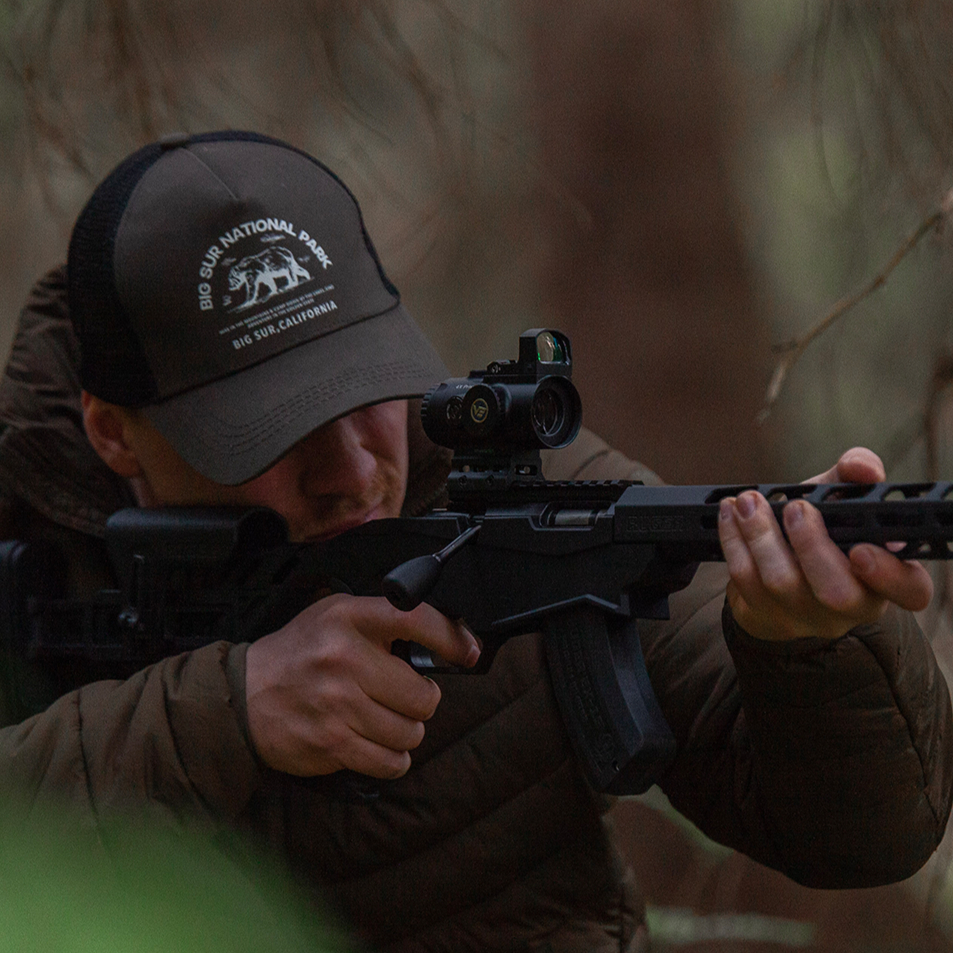
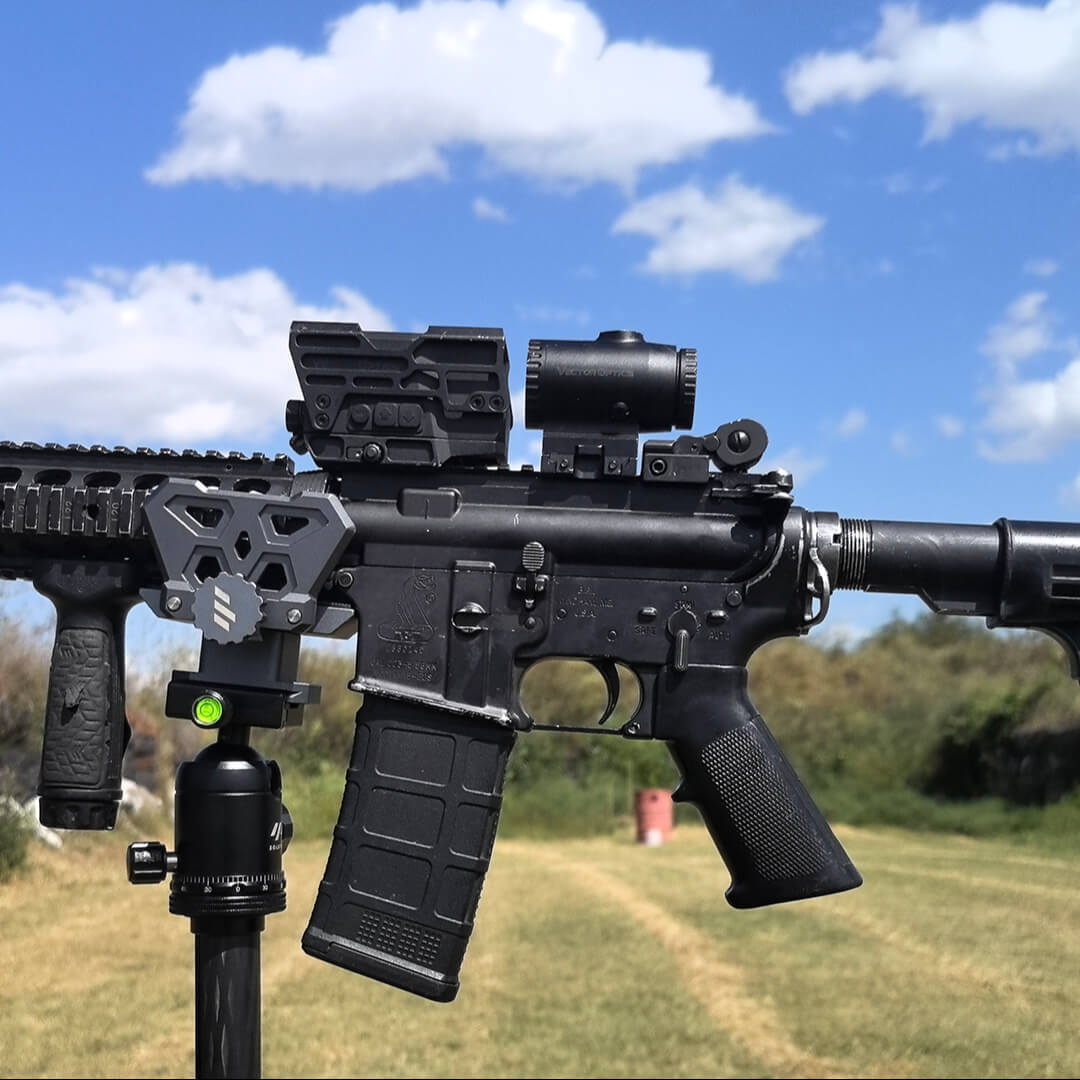
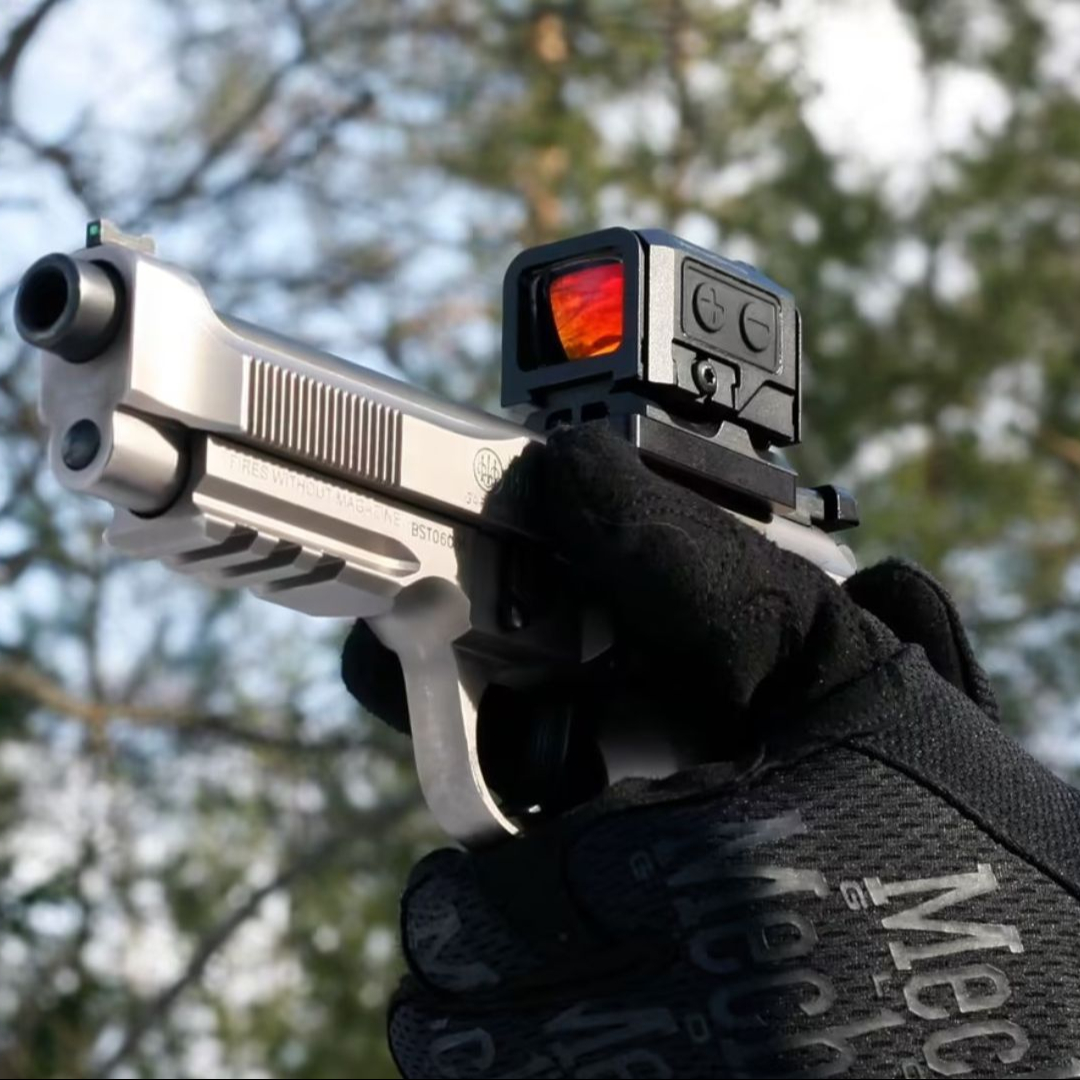
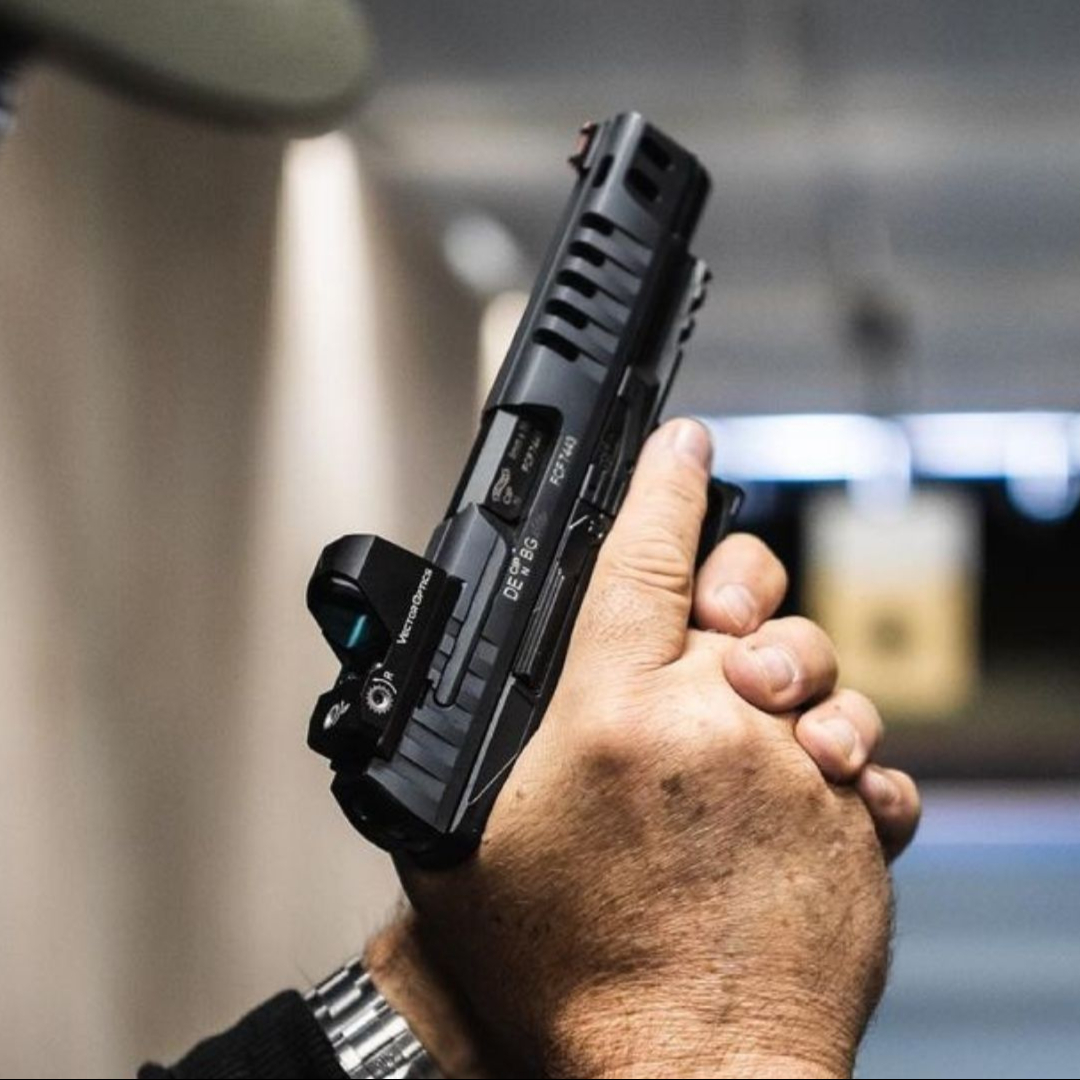
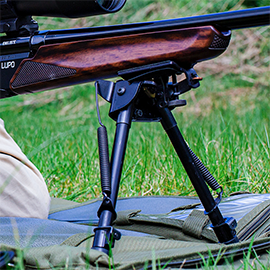
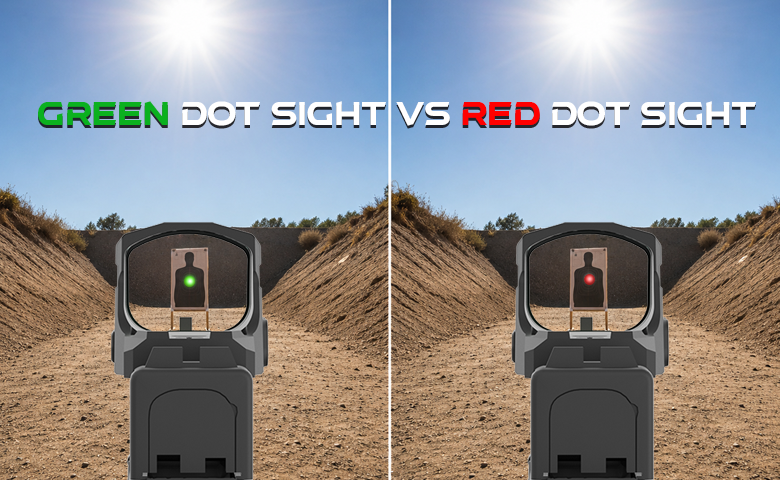
Why are properly torqued optic screws important? Well, for multiple reasons. So, you don’t overtighten scope rings and damage the glass inside the scope and the same if you under-tighten the screws, you might risk recoil moving the scope and thus harming accuracy. The same applies to red dots on a pistol; if you overtighten the mounting screws, you might damage the optic or make it impossible to remove the screws later for maintenance, as you’ll strip the head of the screw. Again if you under tighten the screws you can have the optics vibrating lose, trust me I’ve seen too many red dots fly into the face of the shooter to know how important proper installation is, at the end I’ll put a small list of things I use to properly install a red dot, using this method I’ve never had one come lose or shift point of impact.

Key features
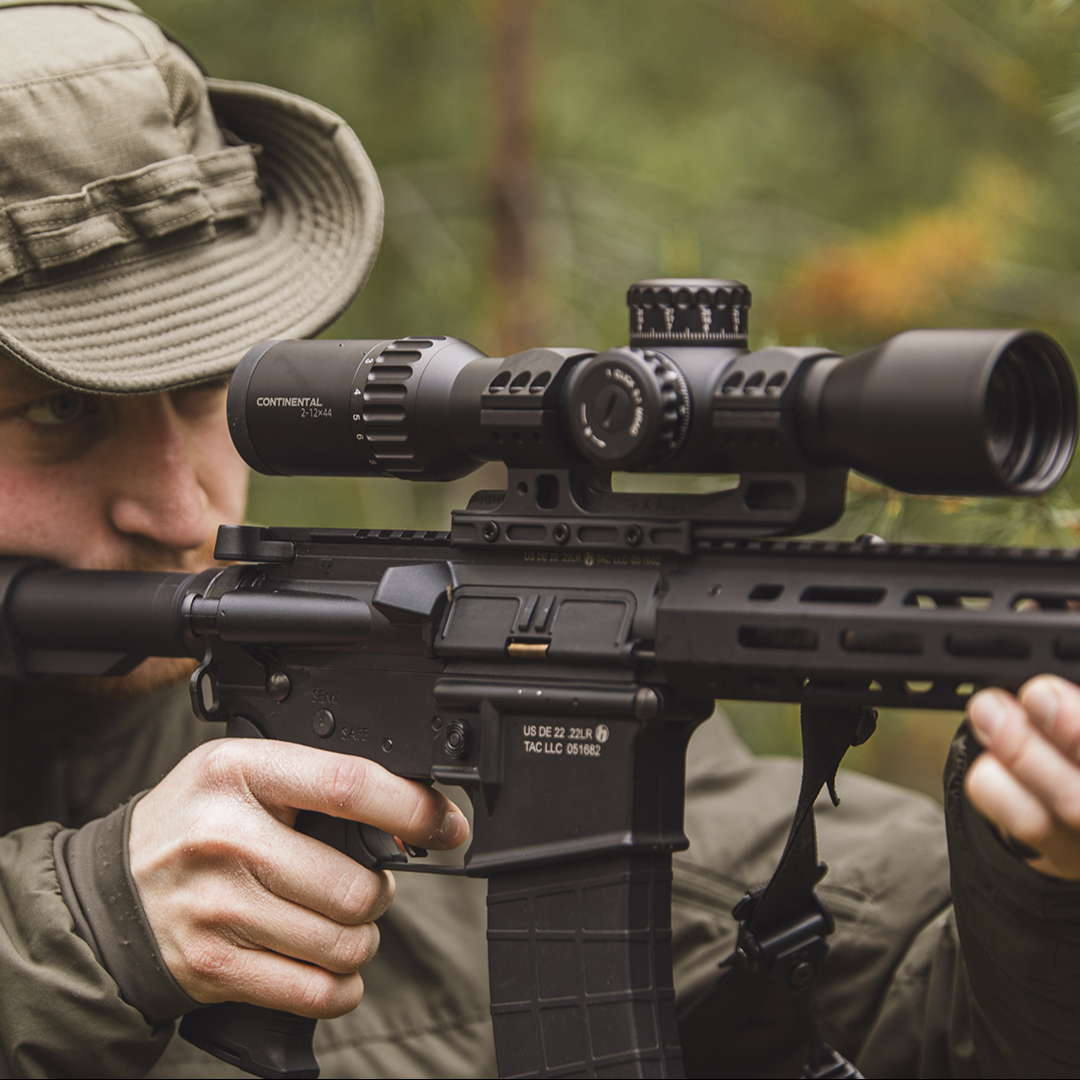
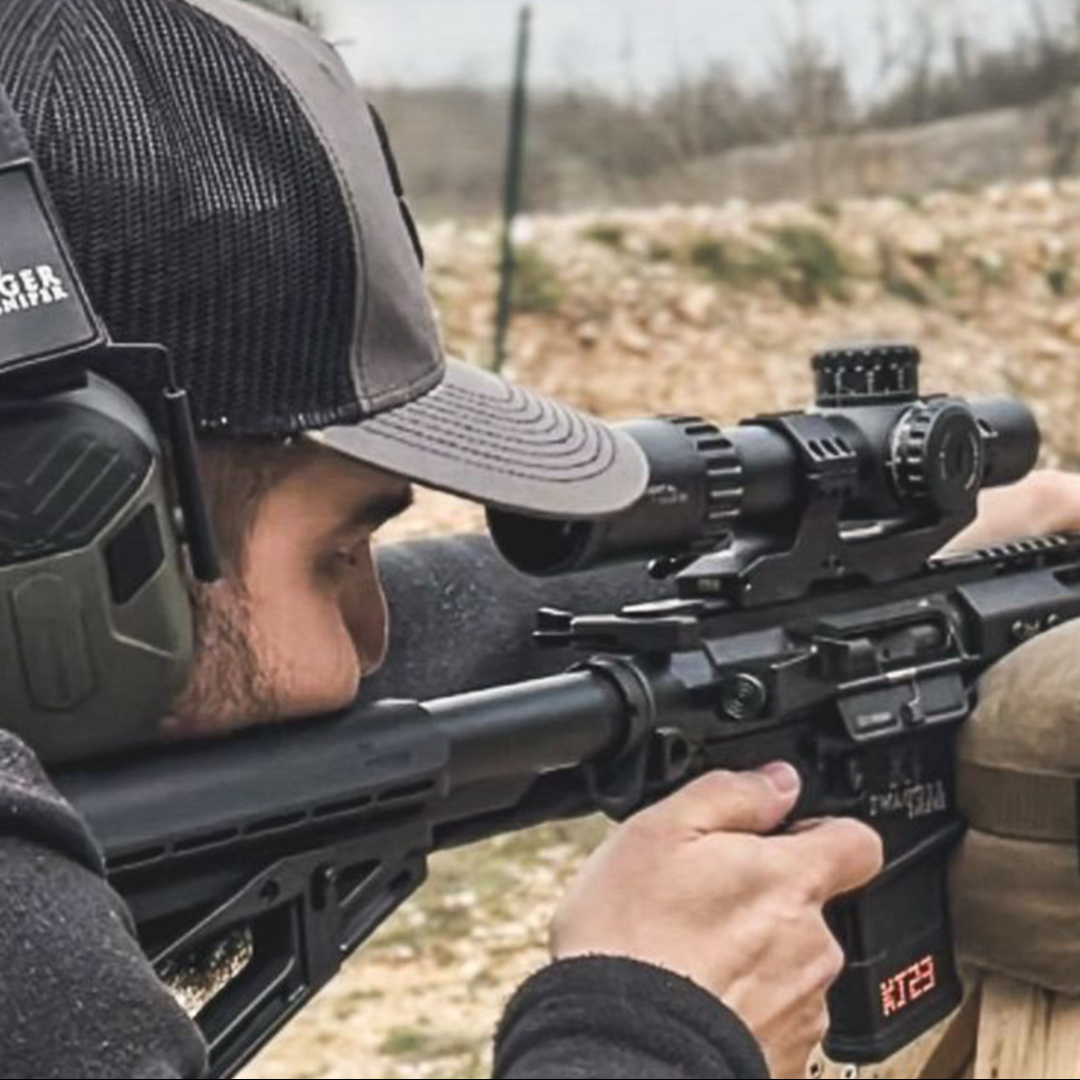
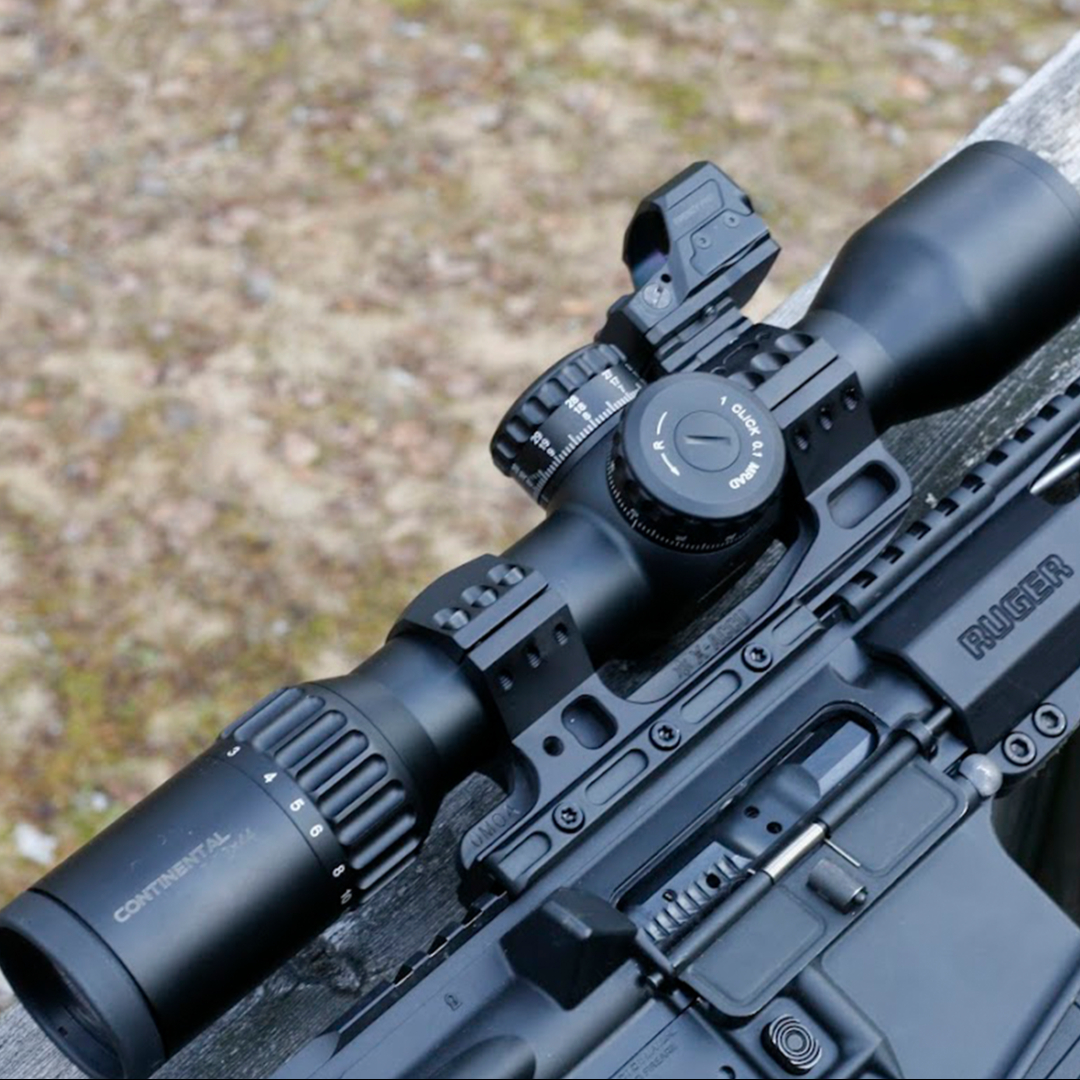
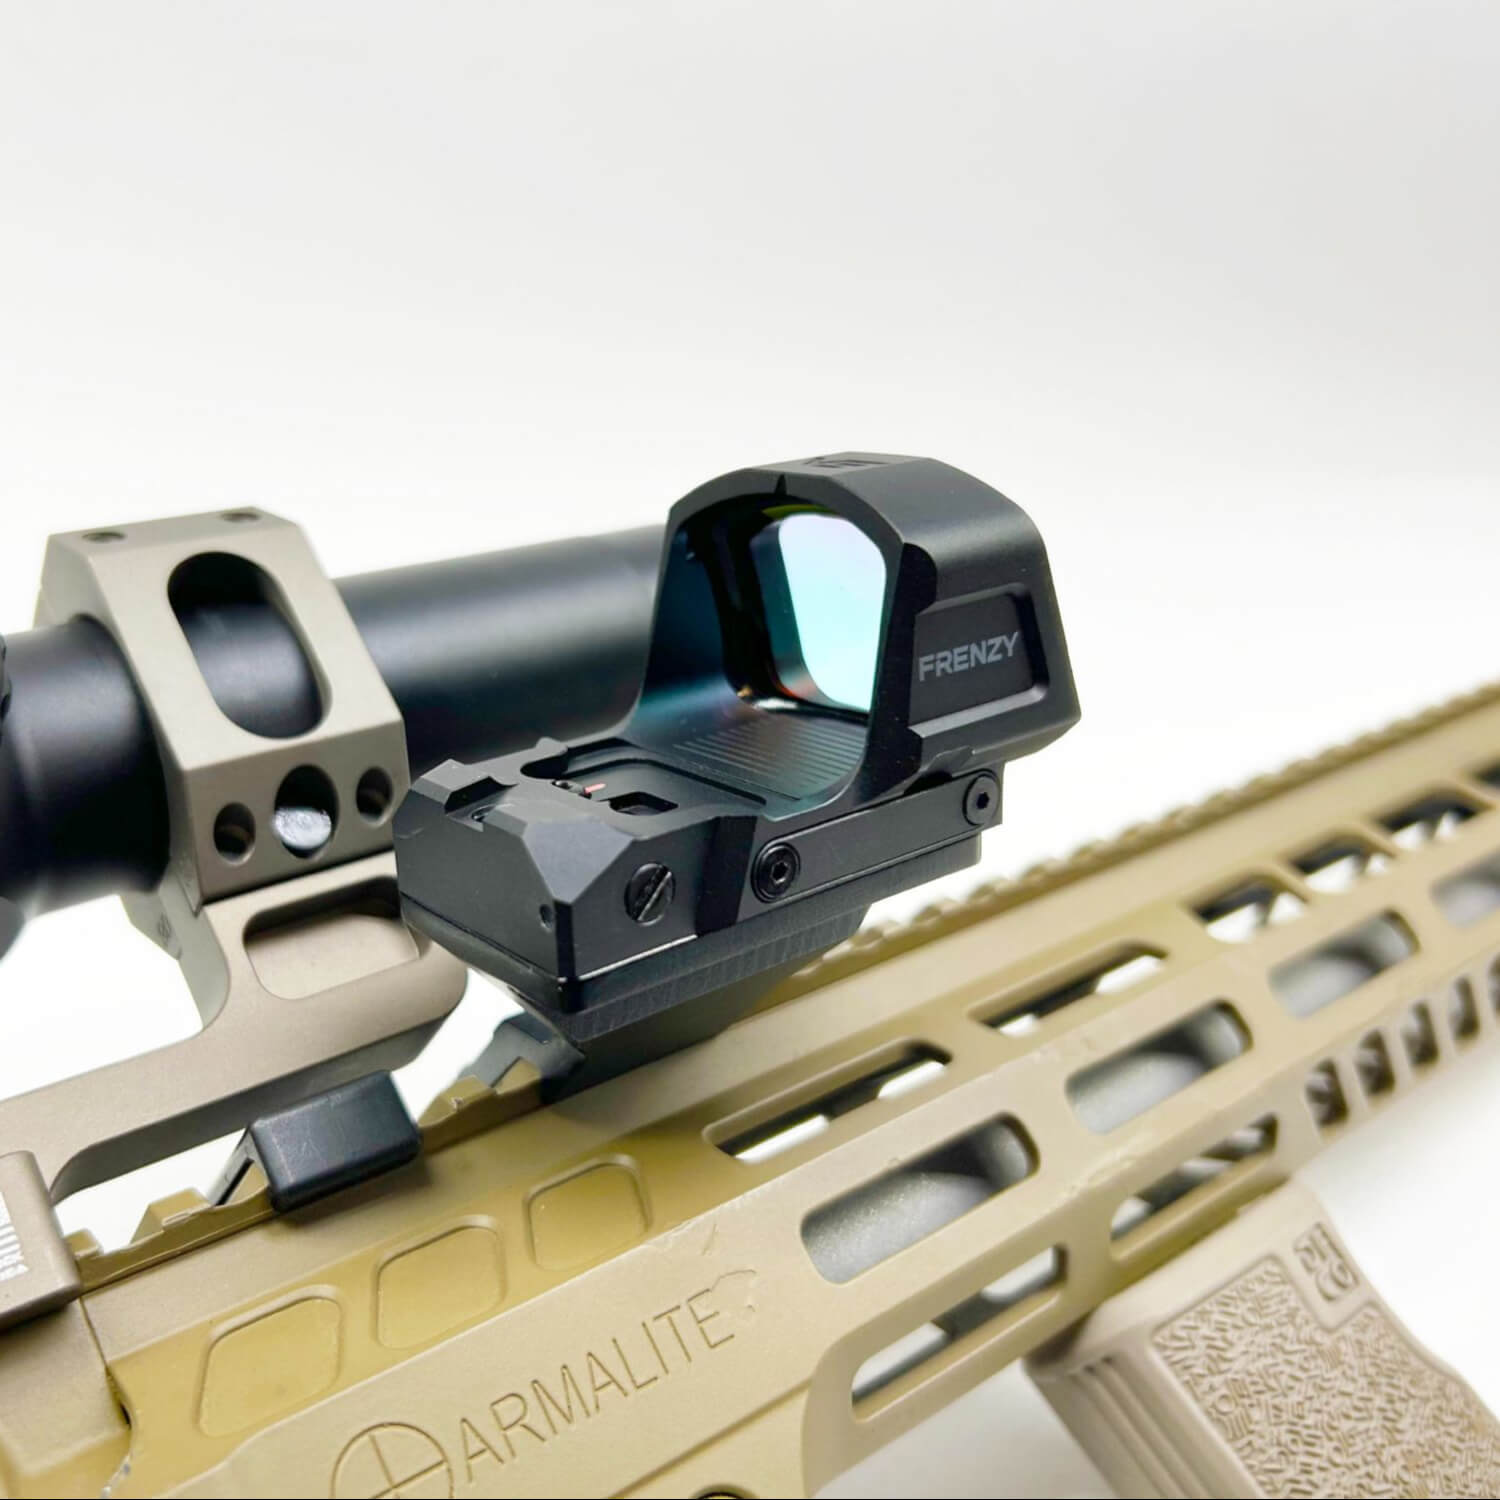
The bits! I was happily surprised to find that vector had thought about the problems you might find yourself with using off the selves short ¼” bits, (see photos for difference) the “normal” length ones might be too short to use the torque driver on closed red dots (such as the SCRD-68) as the driver get hit by the widow (see photos), but vector overcame this problem by having the bits that come with the screwdriver be almost twice the length. You get 10 different bits in the box, the most commonly used ones (T6, T8, T10, T15, T20, H1.5, H2, H2.5, H4, and PH2)

Ft-lbs. or Nm
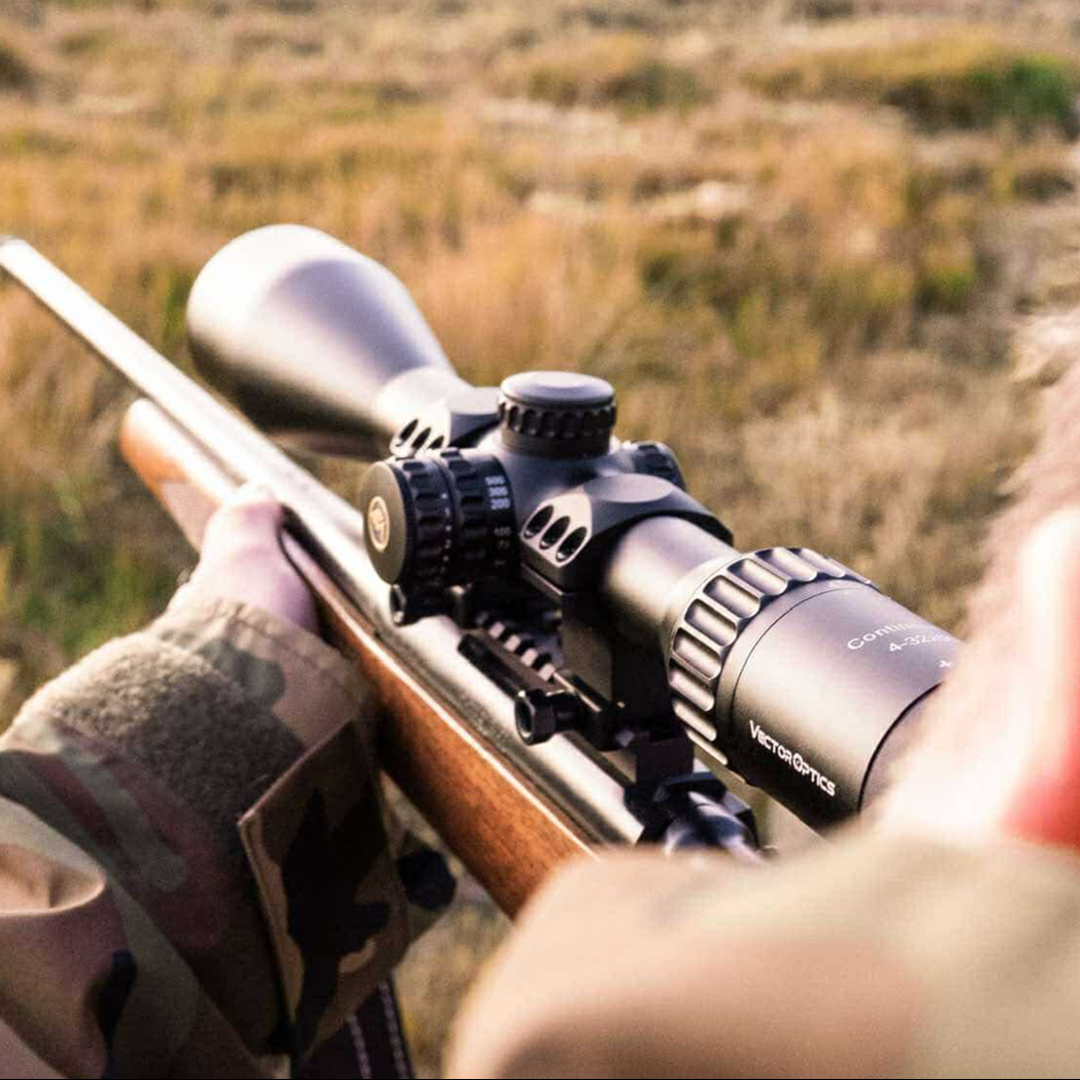
The old world Foot-Pounds or the metric Newton-Meters, I won’t go into the arguments of which is better than the other, but just say that no matter which values the manufacturer tells you to use for the torque value for their product the screwdriver comes with both on the scale, on the left hand side you get the ft-lbs and on the right Nm values, making it easier for you to find the right value.

Final Thoughts
If you always send your firearms to a gunsmith for optics installation, you won't need to buy this, but if you’re like most of the people who own firearms, we swap optics, we install our own accessories, and mount scopes, so for us this is a mandatory addition to the tool box, for the exact reasons stated in the prologue. So, for the low price (see availability and pricing in your region), you pay for the driver, it’s a good investment.

My process for installing a red dot on a pistol
This won’t be an official Vector installation guide; this is just how I do it. You can follow or not; I don’t take any liability if you damage your firearm or optic.
First, I find the right screws for the mount that the optic will attach to. If you have a mounting plate in between the firearm base and where the optic mounts, please follow the manufacturer's instructions on the installation of the plate.

Once I find the right screws, I cold test the optic and the screws, meaning I just lay the optic on the mount, check that all the recoil lugs fit properly, and clean the screws from any thread locking compound on the screws with some mild solvent. Once the screws are clean and dry from any solvent, I check that the screws are the right length, if I find the screws to be too long, I use a file to file down the screws checking after few mm if they are the right length, you do not want the screws to be too long and hitting the frame of the firearm as this will warp the mounting plate and leading the torque spec not being on the optic properly, you also don’t want the screws to be too short as just one or two rotation into the threads won’t give you enough purchase on the mount for a secure connection.

Once I’m happy that the red dot sits firmly on the recoil lugs and the screws are the right thread pitch and the right length I make sure the mount has clean threads and the screws are free from any burrs or dirt, then I use a small amount of thread locker compound (I prefer Vibra-Tite 121, but also Loctite 243 works well) be sure to use medium strength locking compound and less is more, make sure no compound can leak from the screw to make its way to the gun. You do not want to use any compound that requires heat to remove, as then if you need to remove the optic for maintenance, you won’t damage it by heat.
I use a normal screwdriver to drive the screws until I feel them almost bottoming making sure to alternate between the screws to make sure they provide equal pressure to the optic, once they are both snug, not at all tight I use the torque driver to 15 ft-lbs (1.7Nm) do don’t exceed this value, this is the industry standard for red dot (this is the value just for the red dot mounting, use the value specified by manufacturer for mounting plates and scope rings etc.). Then both screws get a double check on the torque driver to make sure both are 15 ft-lbs. Never fire the firearm right after mounting and give time for the locking compound to fully cure, 24h if possible, but consult the manual or bottle of the thread locking compound you’re using and follow the recommendations.
If you follow these instructions, you’ll never get a red dot that comes loose.
Click here to read the full product review.