If you recently mounted a new optic, one of the first things you need to do is zero the rifle scope. Many shooters search for how to sight in a rifle scope, whether they're setting up a new rifle or confirming their zero before a hunt.
Zeroing a rifle scope ensures that your rifle shoots where you aim at a chosen distance. Without proper rifle scope zeroing, even a high-quality optic may not deliver accurate results.
This guide explains how to sight in a rifle scope step by step, why sighting in is necessary, and how to confirm your rifle scope zero so your shots consistently land where you aim.
1. What Does It Mean to Zero a Rifle Scope?
Before learning how to sight in a rifle scope, it helps to understand what rifle scope zeroing actually means.
When you look through a rifle scope, the crosshair shows your point of aim. However, the bullet may not hit that exact point until the rifle scope is properly adjusted.
Sighting in a rifle scope means aligning two points:
(POA vs POI)
Zeroing moves the point of impact (POI) until it matches the point of aim (POA) at a chosen distance. When these two points match, your rifle scope is considered sighted in.
Some advanced rifle scopes include a feature called zero stop. This is especially useful in long-range shooting, where shooters frequently dial up and need a reliable return to zero.
For example, imagine you sight in your rifle scope at 100 yards. Later, you dial the elevation turret up to shoot at a longer distance, such as 200 or 300 yards. With a zero stop set, you can simply turn the turret back down until it stops. When it stops, your scope is back at the 100-yard zero.
This prevents you from accidentally turning the turret too far and losing your original zero. If you're not familiar with this feature, you can read our guide explaining how a zero stop works.
2. Why Does a Rifle Scope Need to Be Zeroed?
Many beginners wonder why a rifle scope needs to be sighted in before shooting. The reason is simple: the rifle scope and the barrel are not perfectly aligned.
A rifle scope sits slightly above the barrel, so the line of sight and the bullet’s trajectory do not align. The line of sight is straight, while the bullet follows a curved path due to gravity. As a result, the line of sight and the bullet trajectory intersect at one or more points, depending on the zero distance.
Zeroing a rifle scope adjusts the optic so the bullet trajectory intersects your line of sight at a chosen distance, such as 100 yards. This intersection is what shooters call the zero distance.
(Bullet Trajectory and Line of Sight)
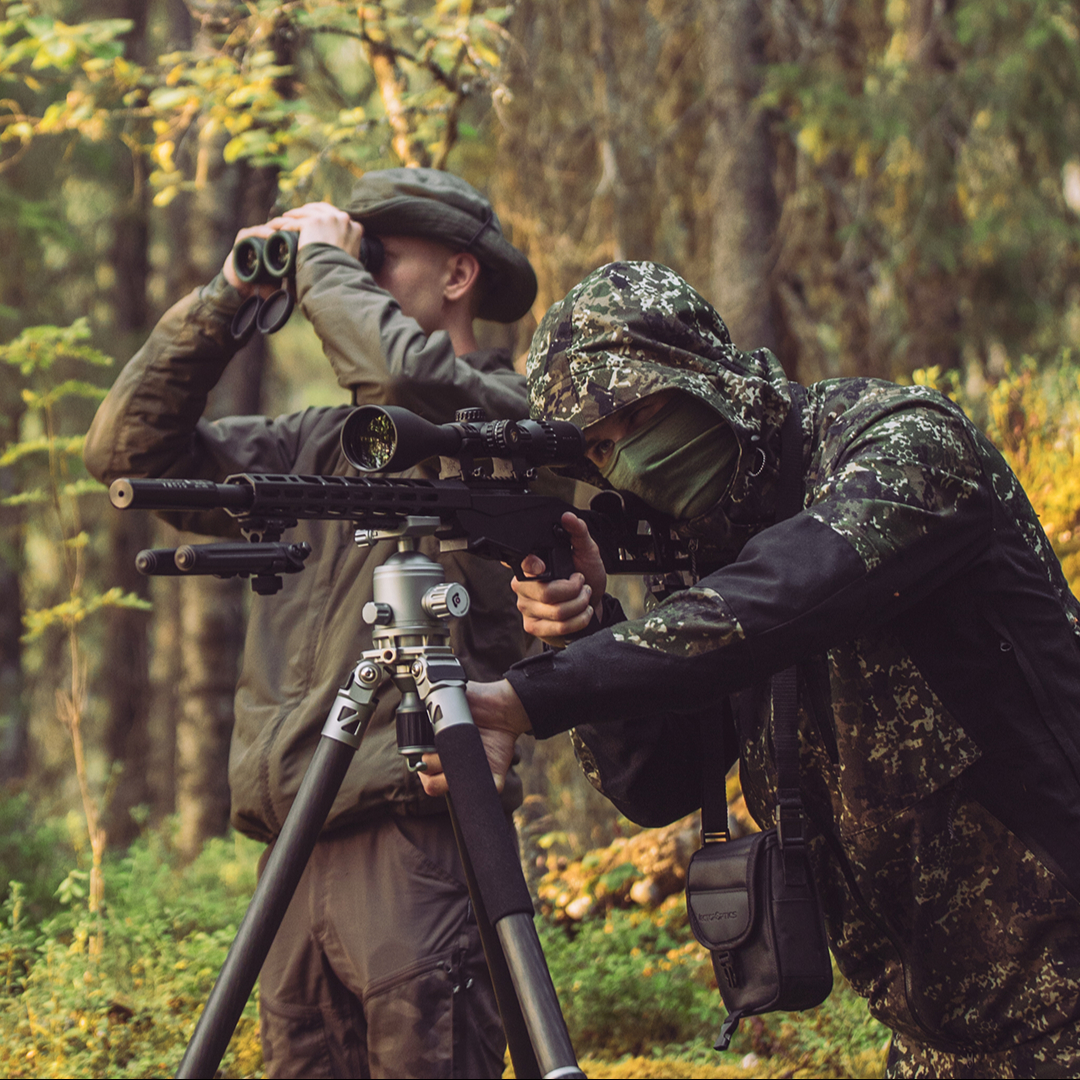
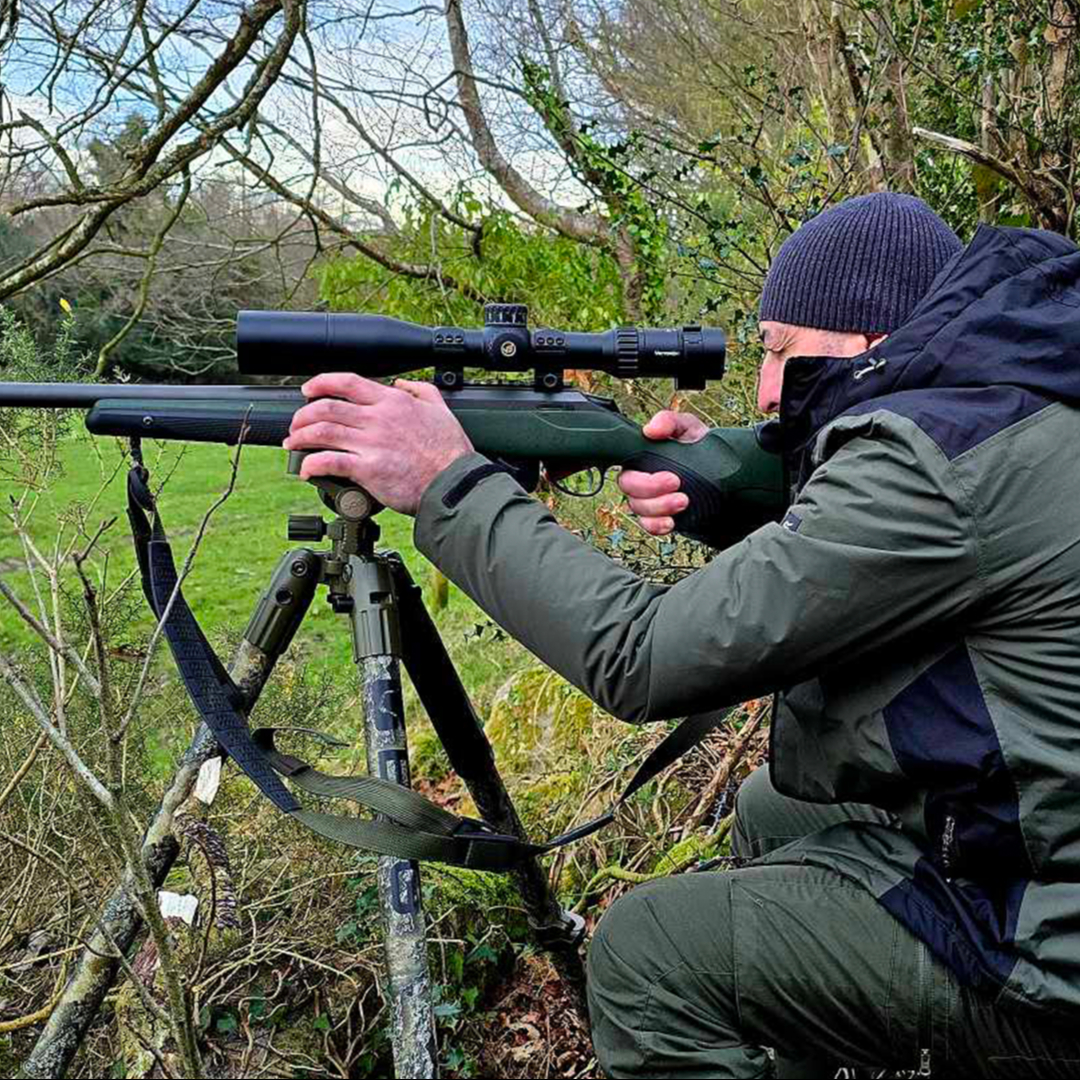
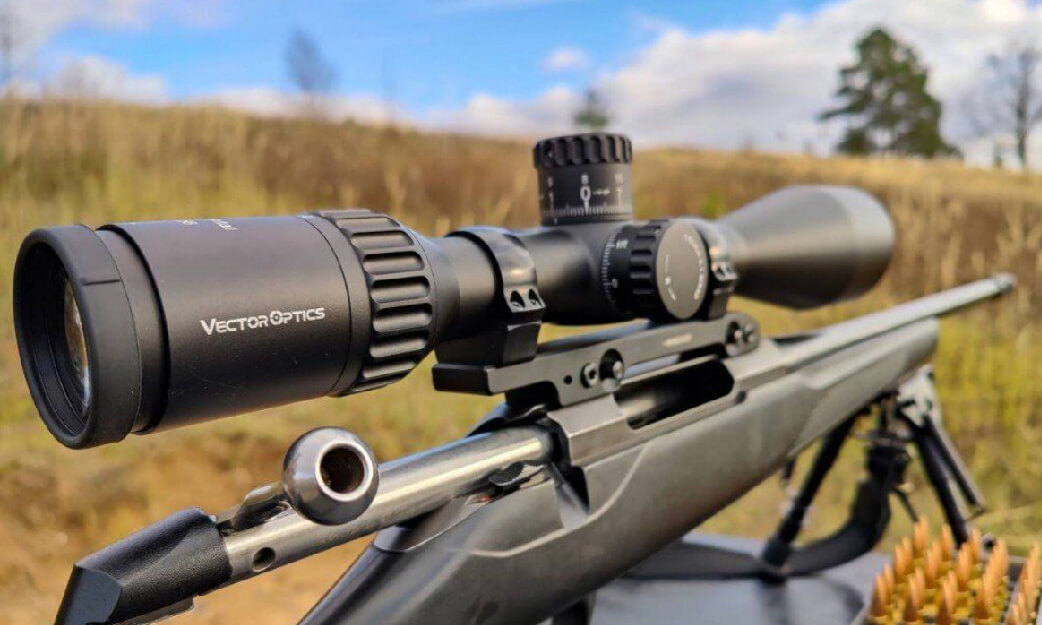
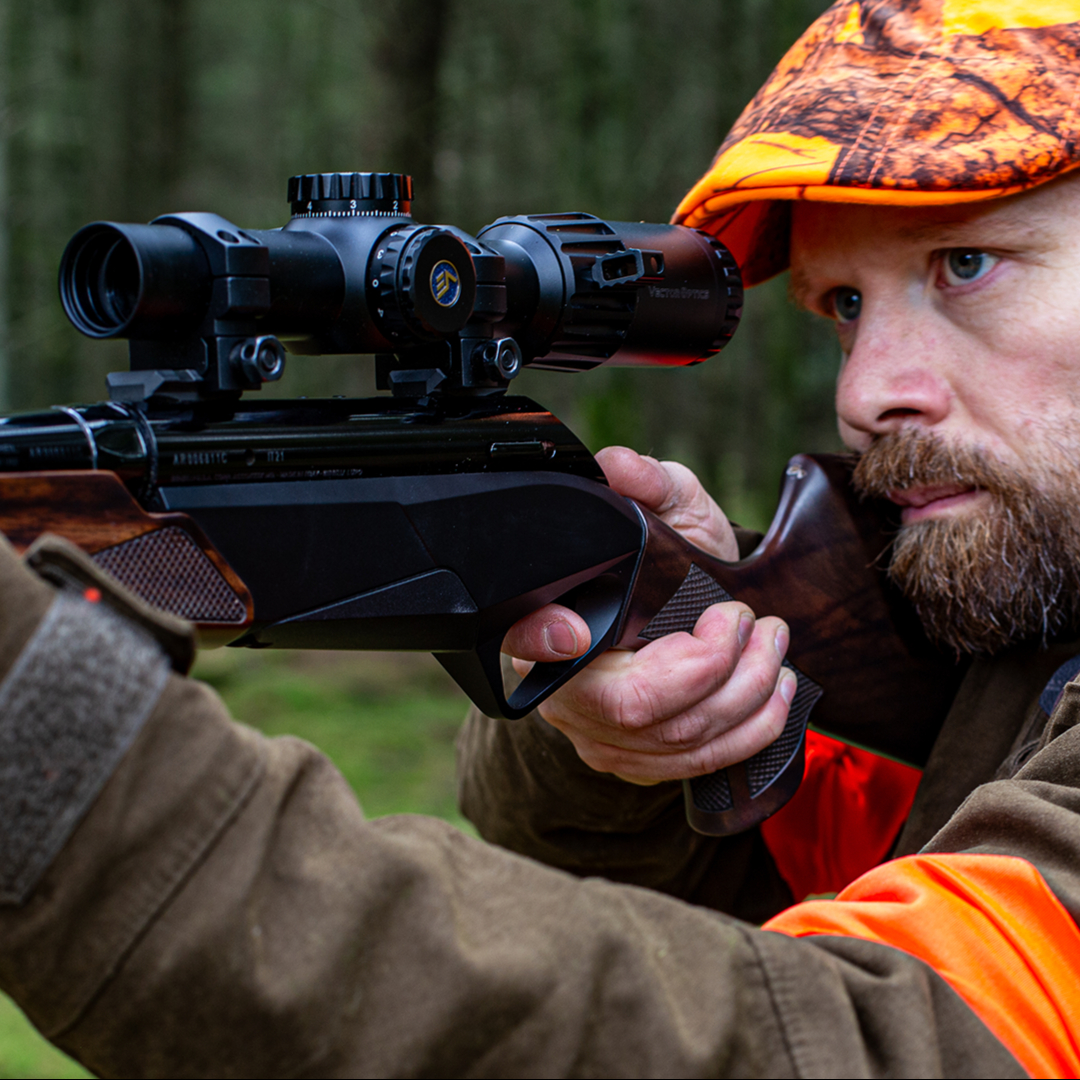
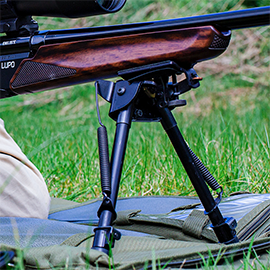
3. What Do You Need Before Zeroing a Rifle Scope?
Before you start sighting in a rifle scope, it helps to prepare a stable shooting setup. A quick tip: before firing your first shot, perform a mechanical or laser bore sight. This gets your scope roughly aligned with the barrel, saving you a significant amount of ammunition during the initial phase.
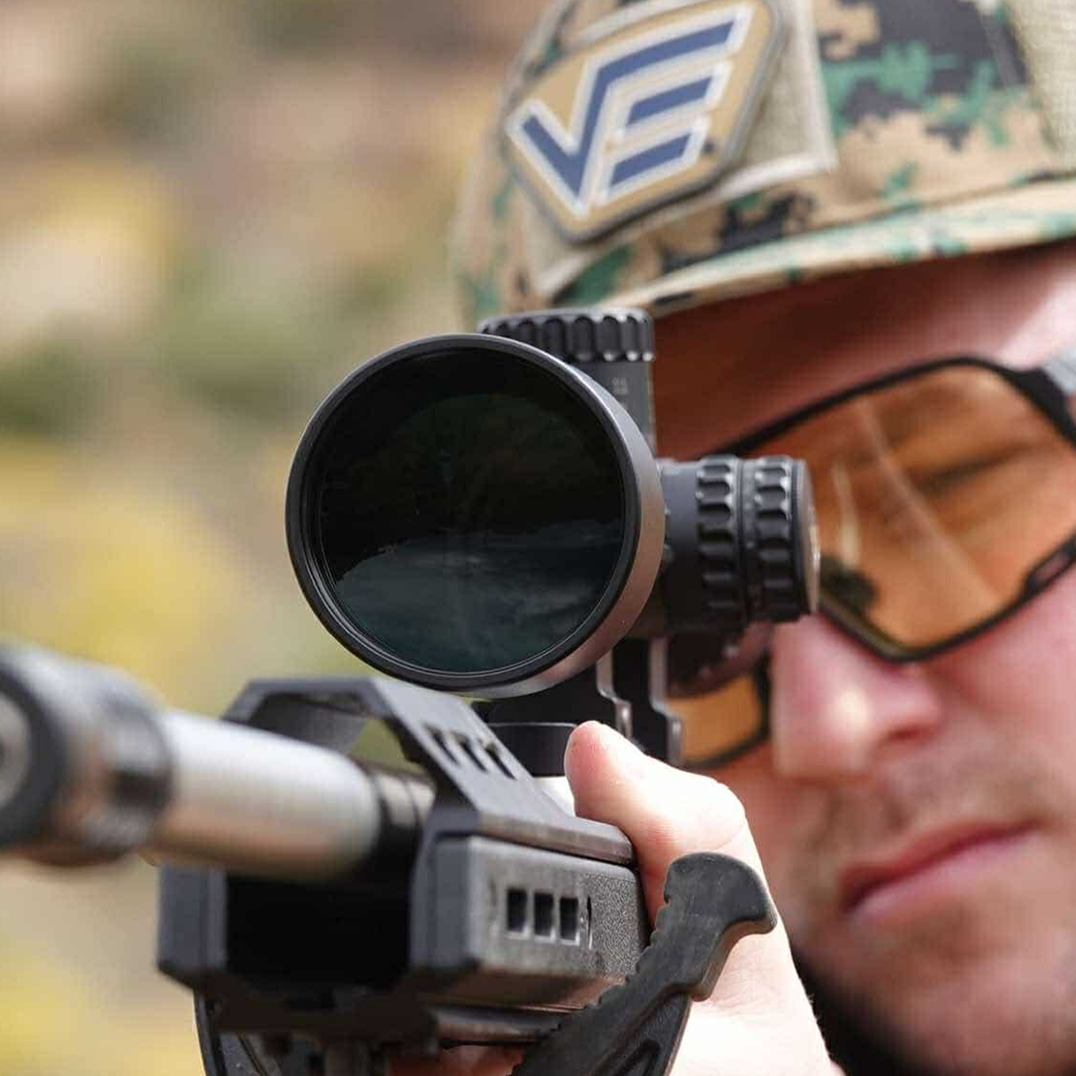
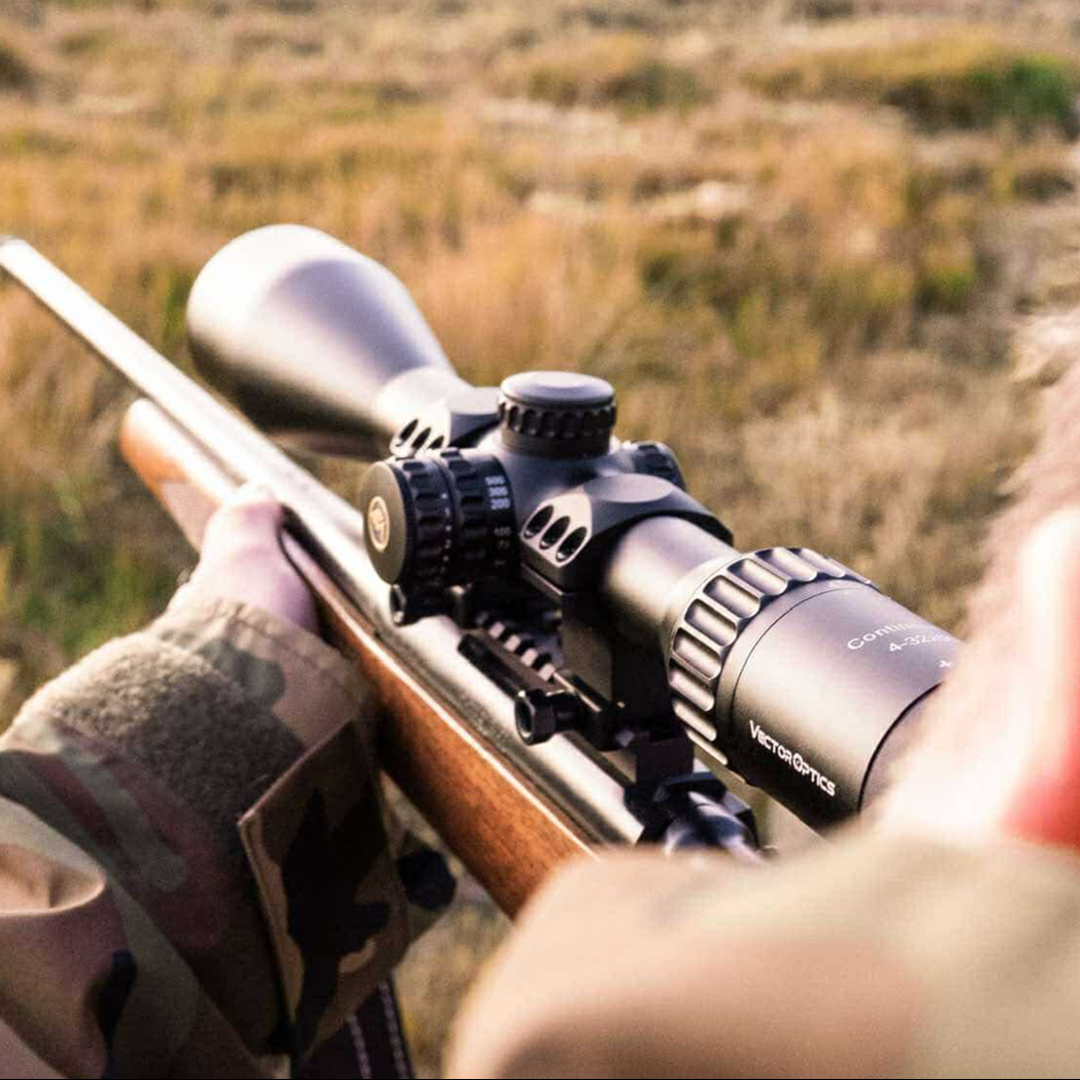
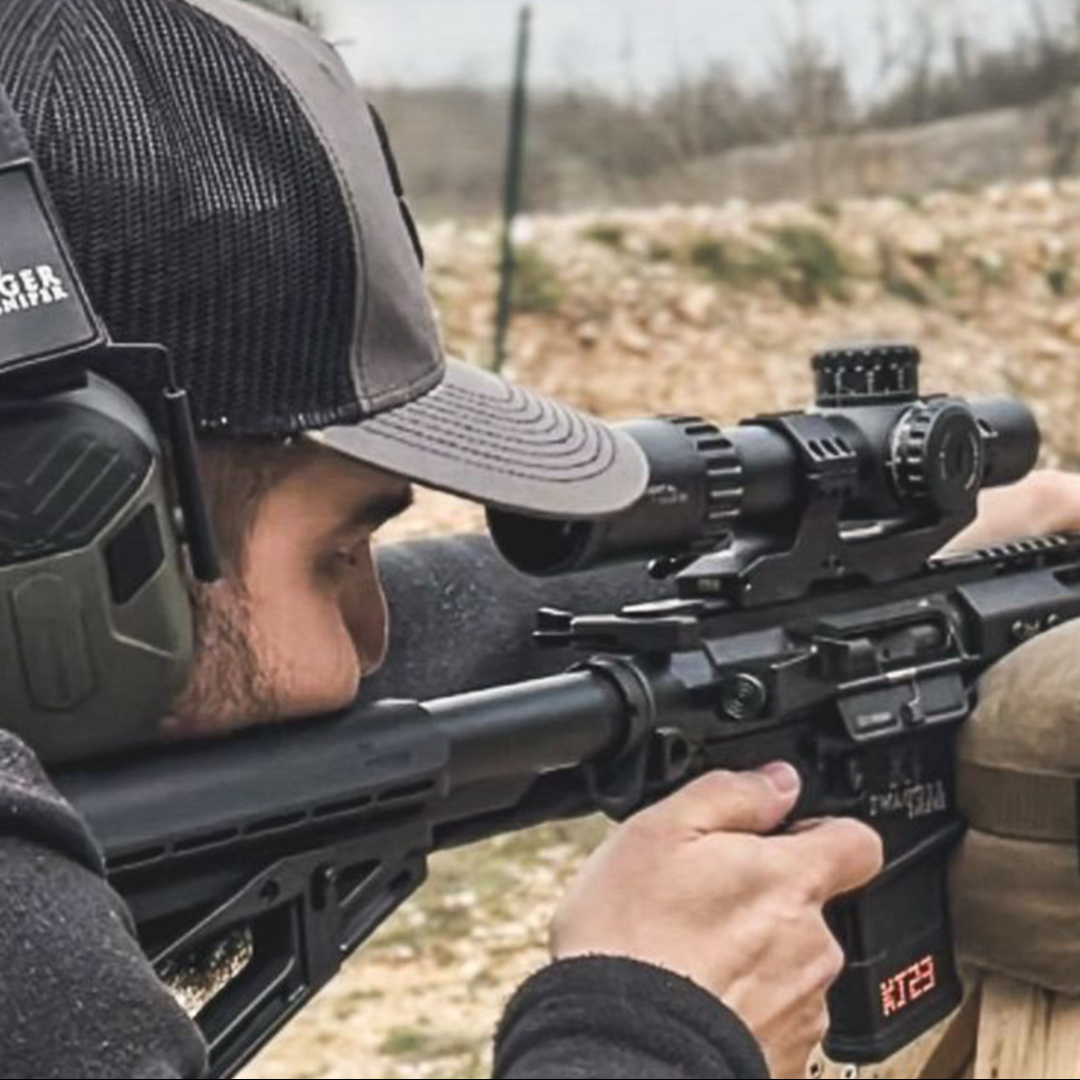
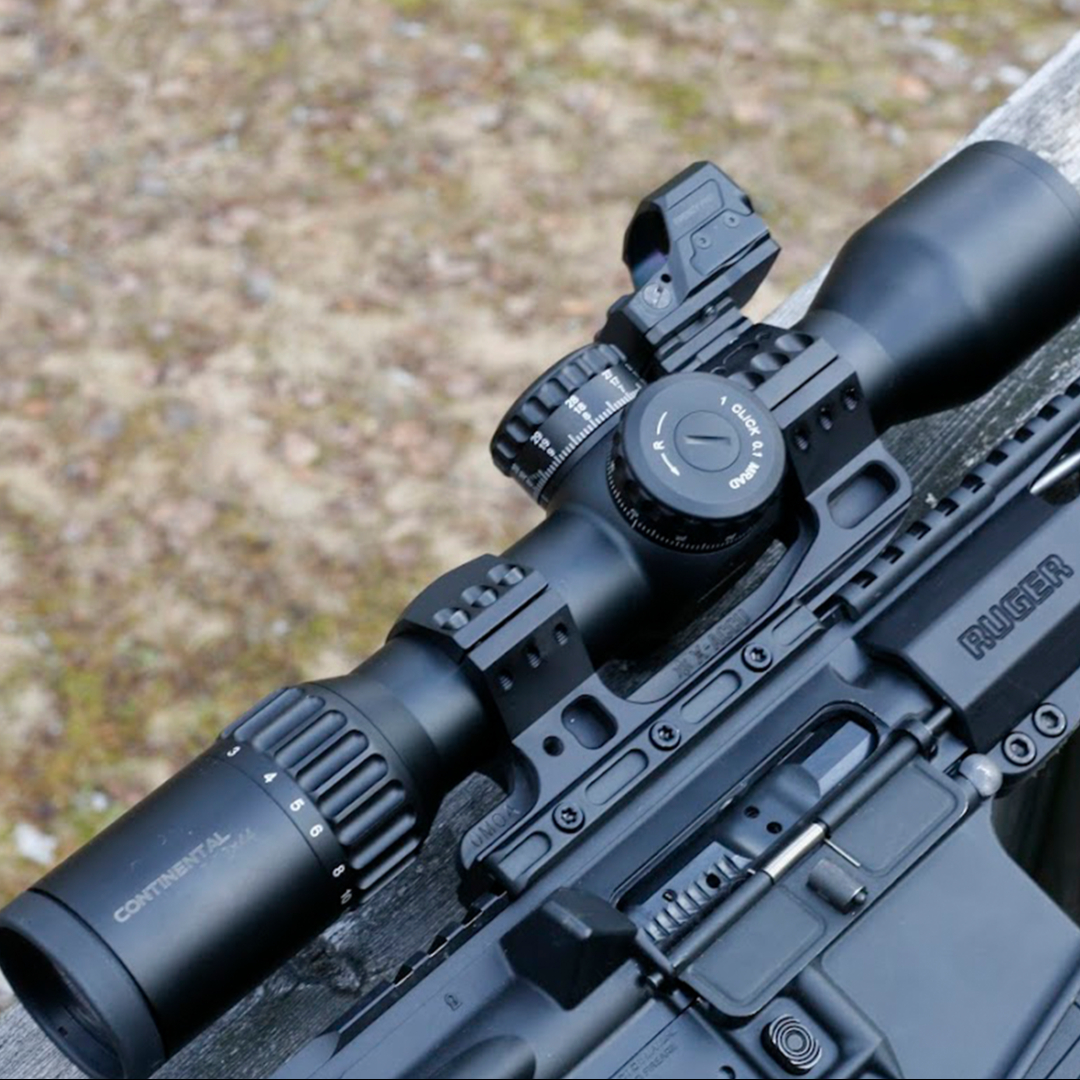
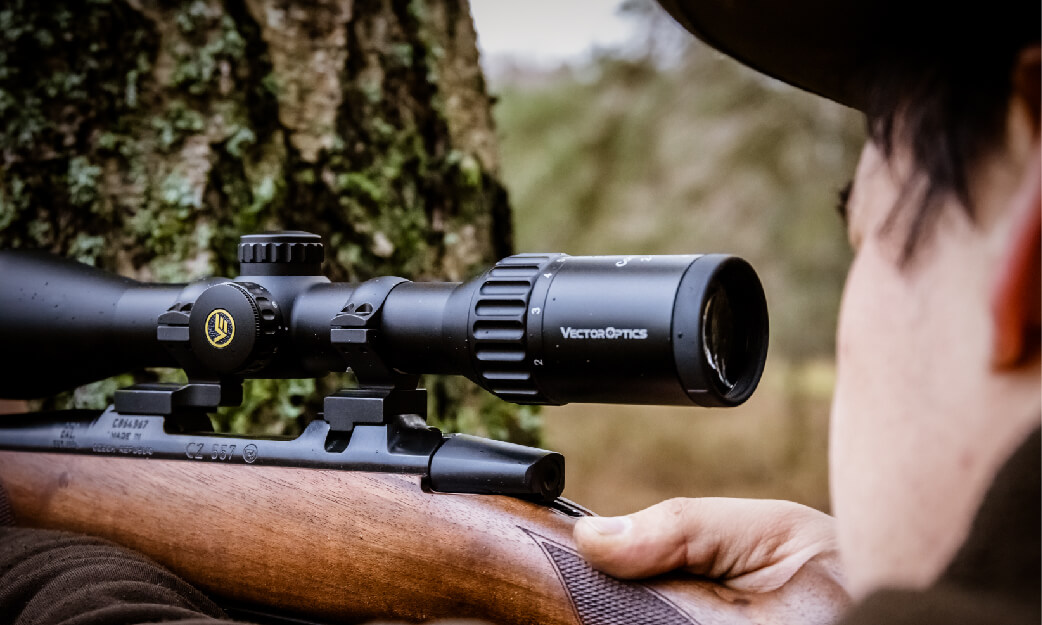
Mounting the Scope Properly:
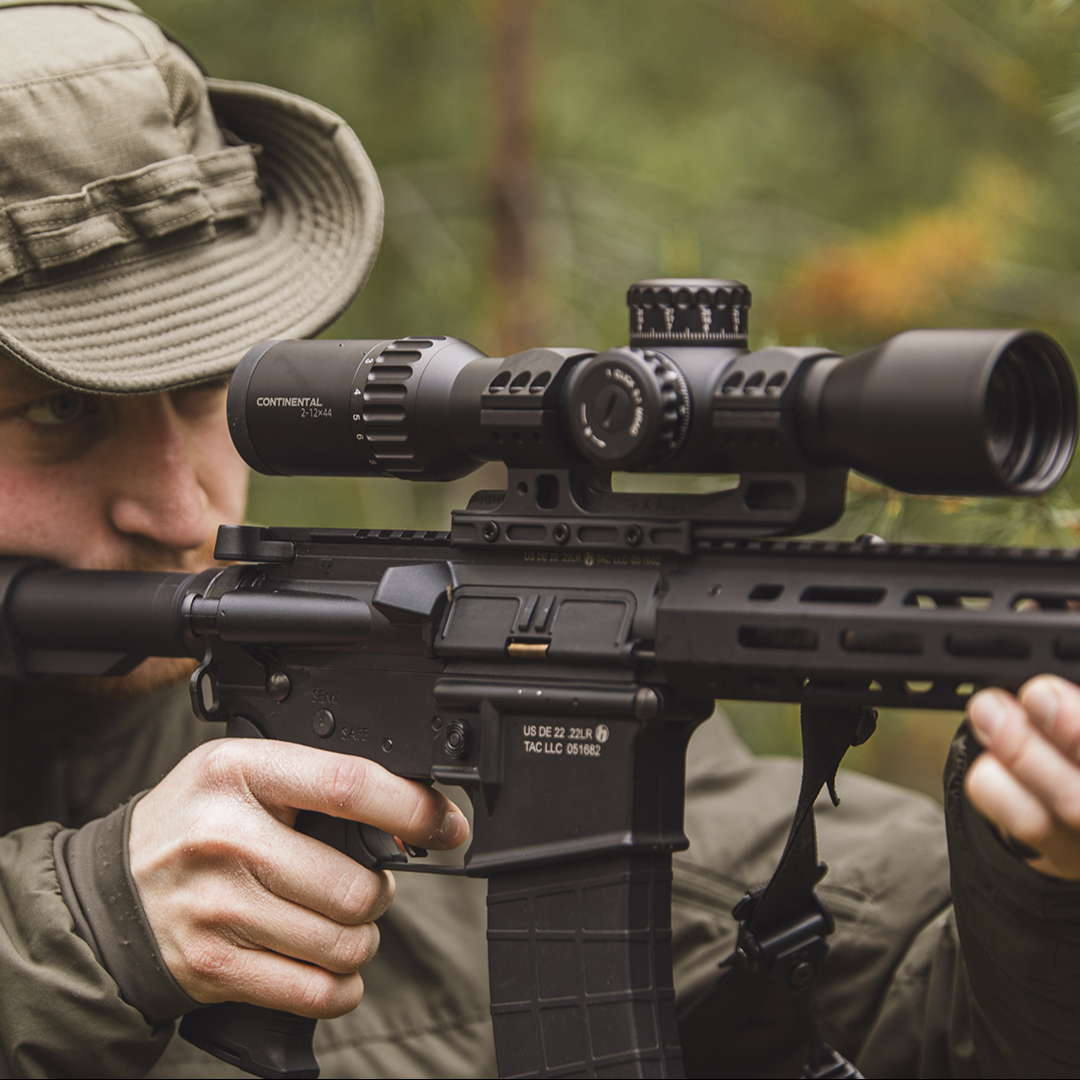
Proper scope installation is required before zeroing. If the scope rings or scope base are not properly tightened, recoil can gradually shift the optic and cause the zero to drift over time. Always check that all mounting screws are tightened to the manufacturer’s recommended torque settings. Over-tightening may damage internal components, while under-tightening can lead to scope movement.
You will need:
A rifle with a mounted rifle scope
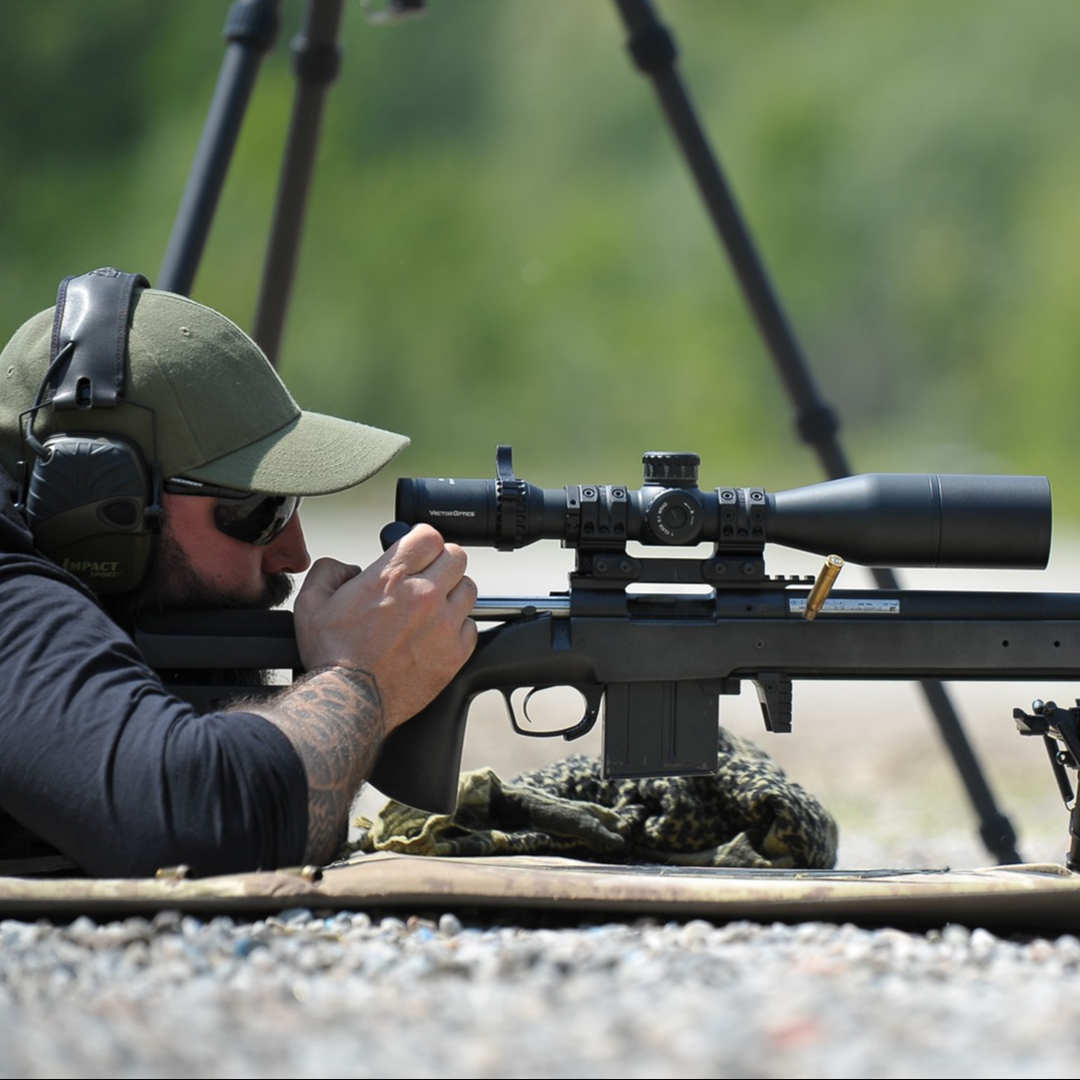
A stable shooting support (bench, bipod, or sandbags)
A clear target
A measuring reference
A safe shooting environment
PS: Use the same ammunition you plan to rely on long-term for zeroing, ensuring consistent brand, bullet weight, and load for reliable results.
( Zeroing Shooting Bench Setup)
Stability is extremely important when learning how to sight in a rifle scope. Even small movements while shooting can affect your results.
Bullet trajectory can seem complicated at first. If you'd like a clearer explanation of how scope adjustments work with bullet movement, you can read our detailed guide here.
4. How Do You Sight in a Scope Step by Step?
The process of sighting in a rifle scope is straightforward. Most shooters follow a simple cycle: shoot, observe, adjust, and repeat.
Step 1 – Secure the rifle
Place the rifle on a stable support so it stays steady during shooting. Initial alignment can be done using either a visual bore sight through the barrel, a traditional method, or a laser bore sight, which is faster and more modern for setting a rough zero before live firing.
Step 2 – Fire a shot group
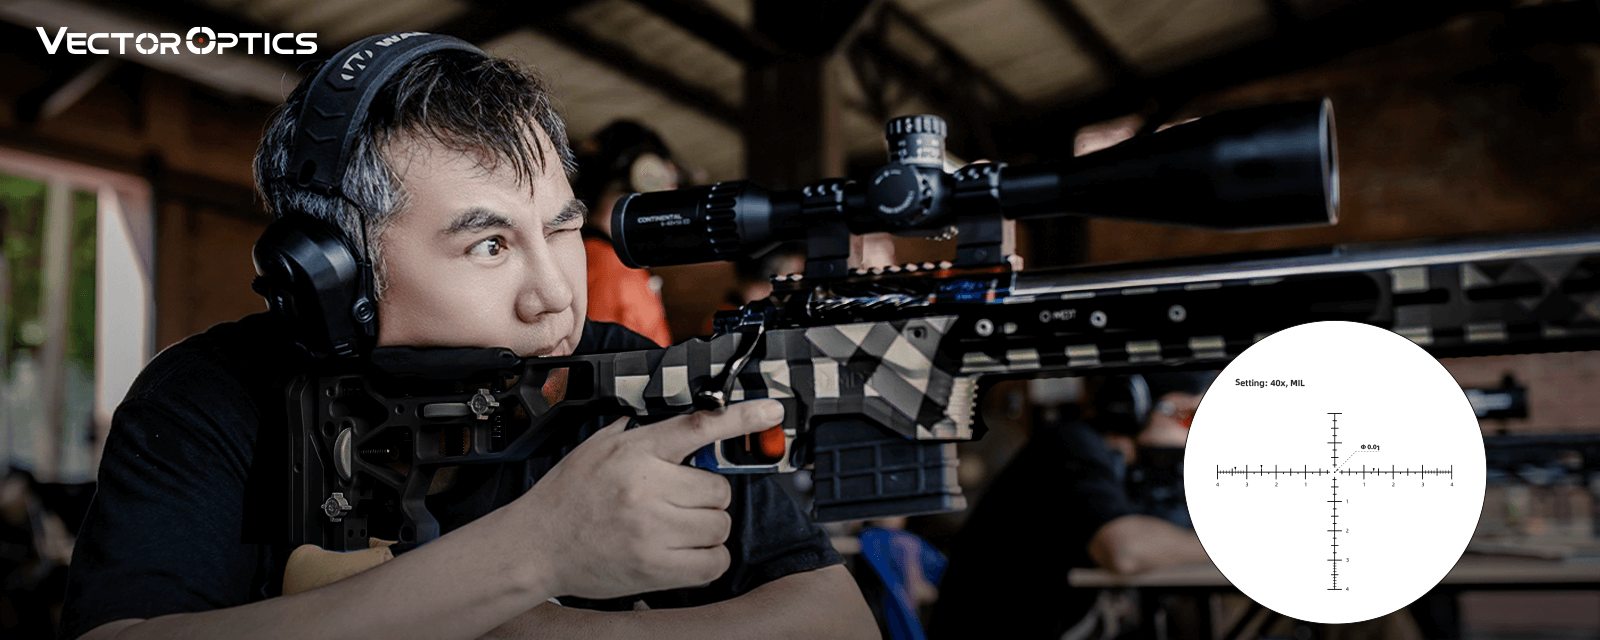
Aim at the center of the target and fire three to five shots to form a shot group, which provides a more reliable average than a single shot. Shot groups are important when learning how to zero a rifle scope because they reveal the average point of impact, accounting for minor human inconsistencies.
Step 3 – Check the impact location
Observe where the group landed relative to the aiming point. Instead of focusing on a single bullet hole, look at the center of the group.
Step 4 – Adjust the rifle scope
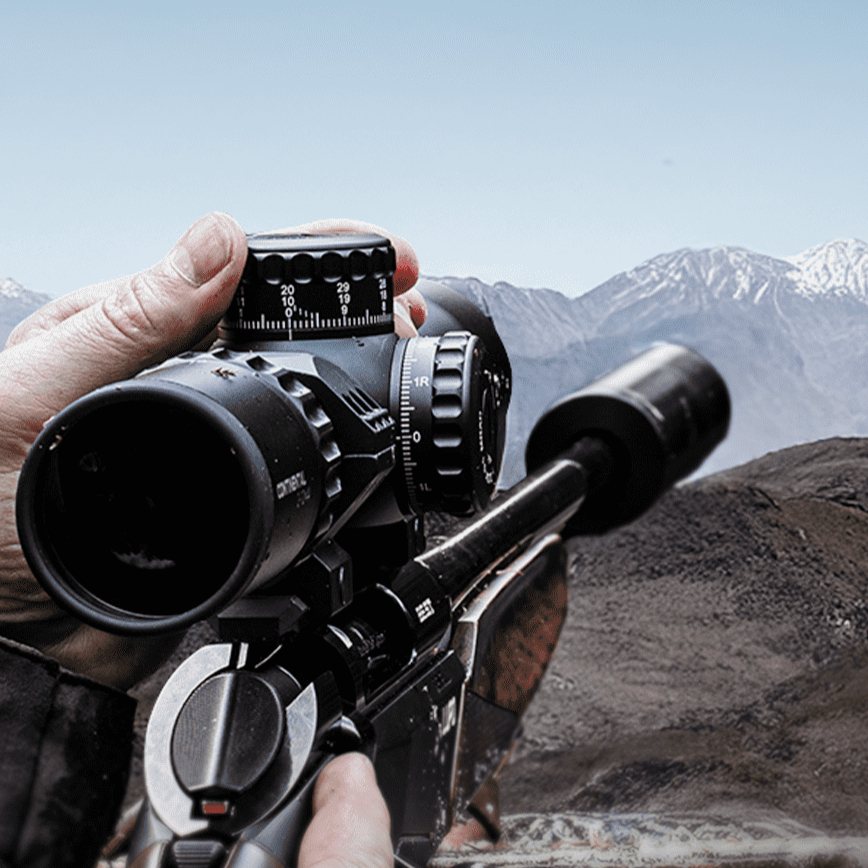
Use the elevation and windage adjustments to move the point of impact toward the center of the target.
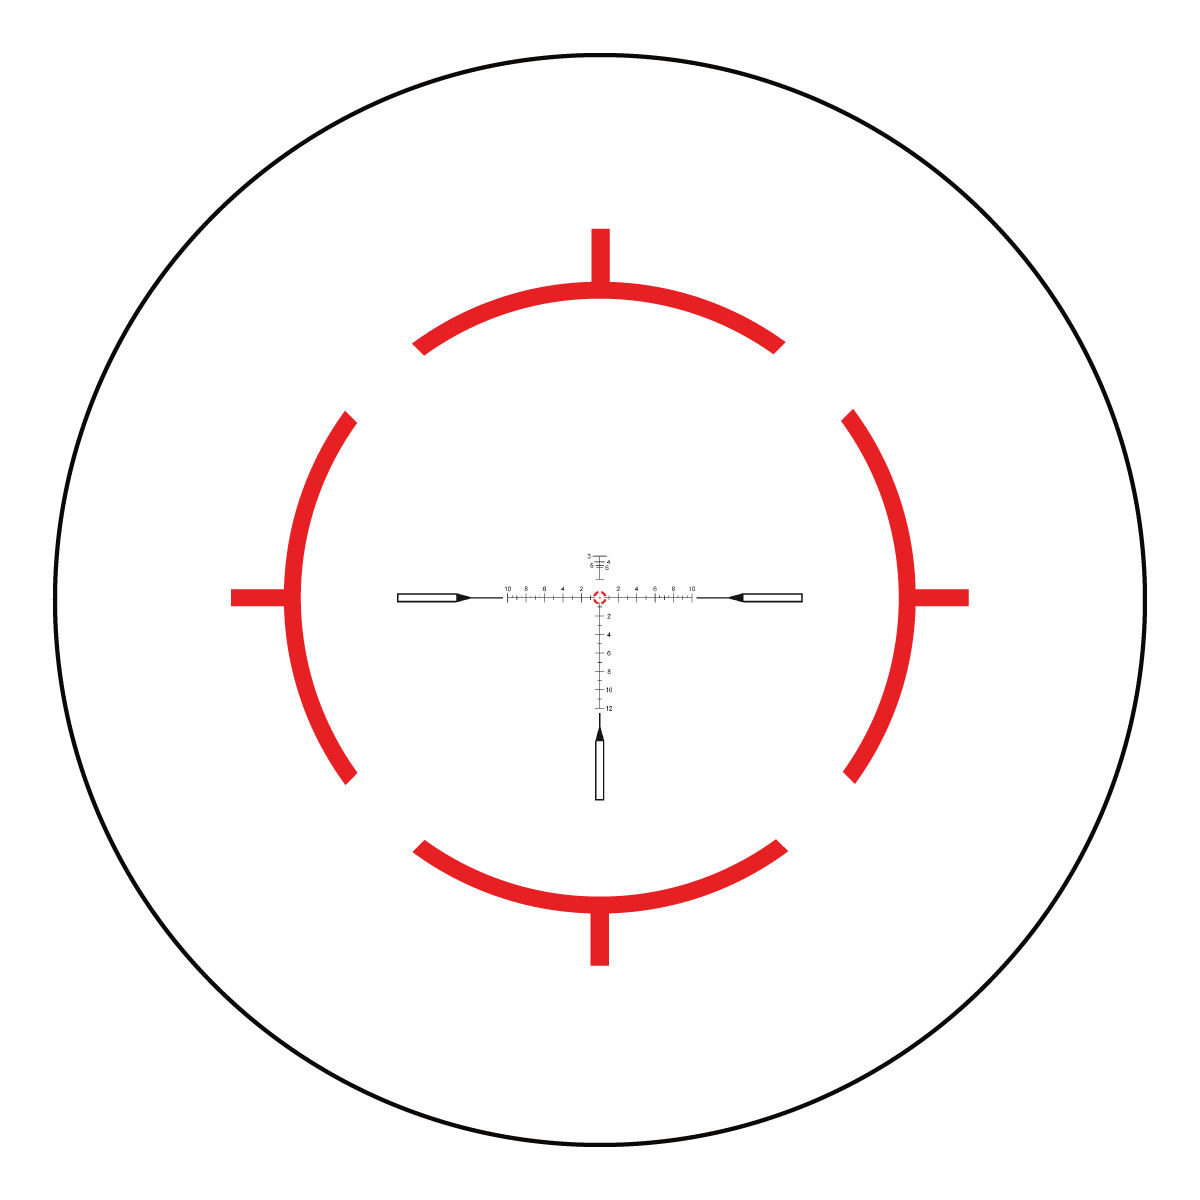
Rifle scopes have two main adjustments: elevation and windage. Elevation moves the bullet impact up or down, while windage moves the bullet impact left or right. When adjusting your scope, look at where the shot group lands relative to the center of the target.
For example, if your shot group lands high and to the right of the center, turn the elevation turret toward down and the windage turret toward left to move the impacts closer to the center.
If your scope uses ¼ MOA adjustments and your shots land two inches to the right at 100 yards, it will take eight clicks to bring the point of impact back toward the center.
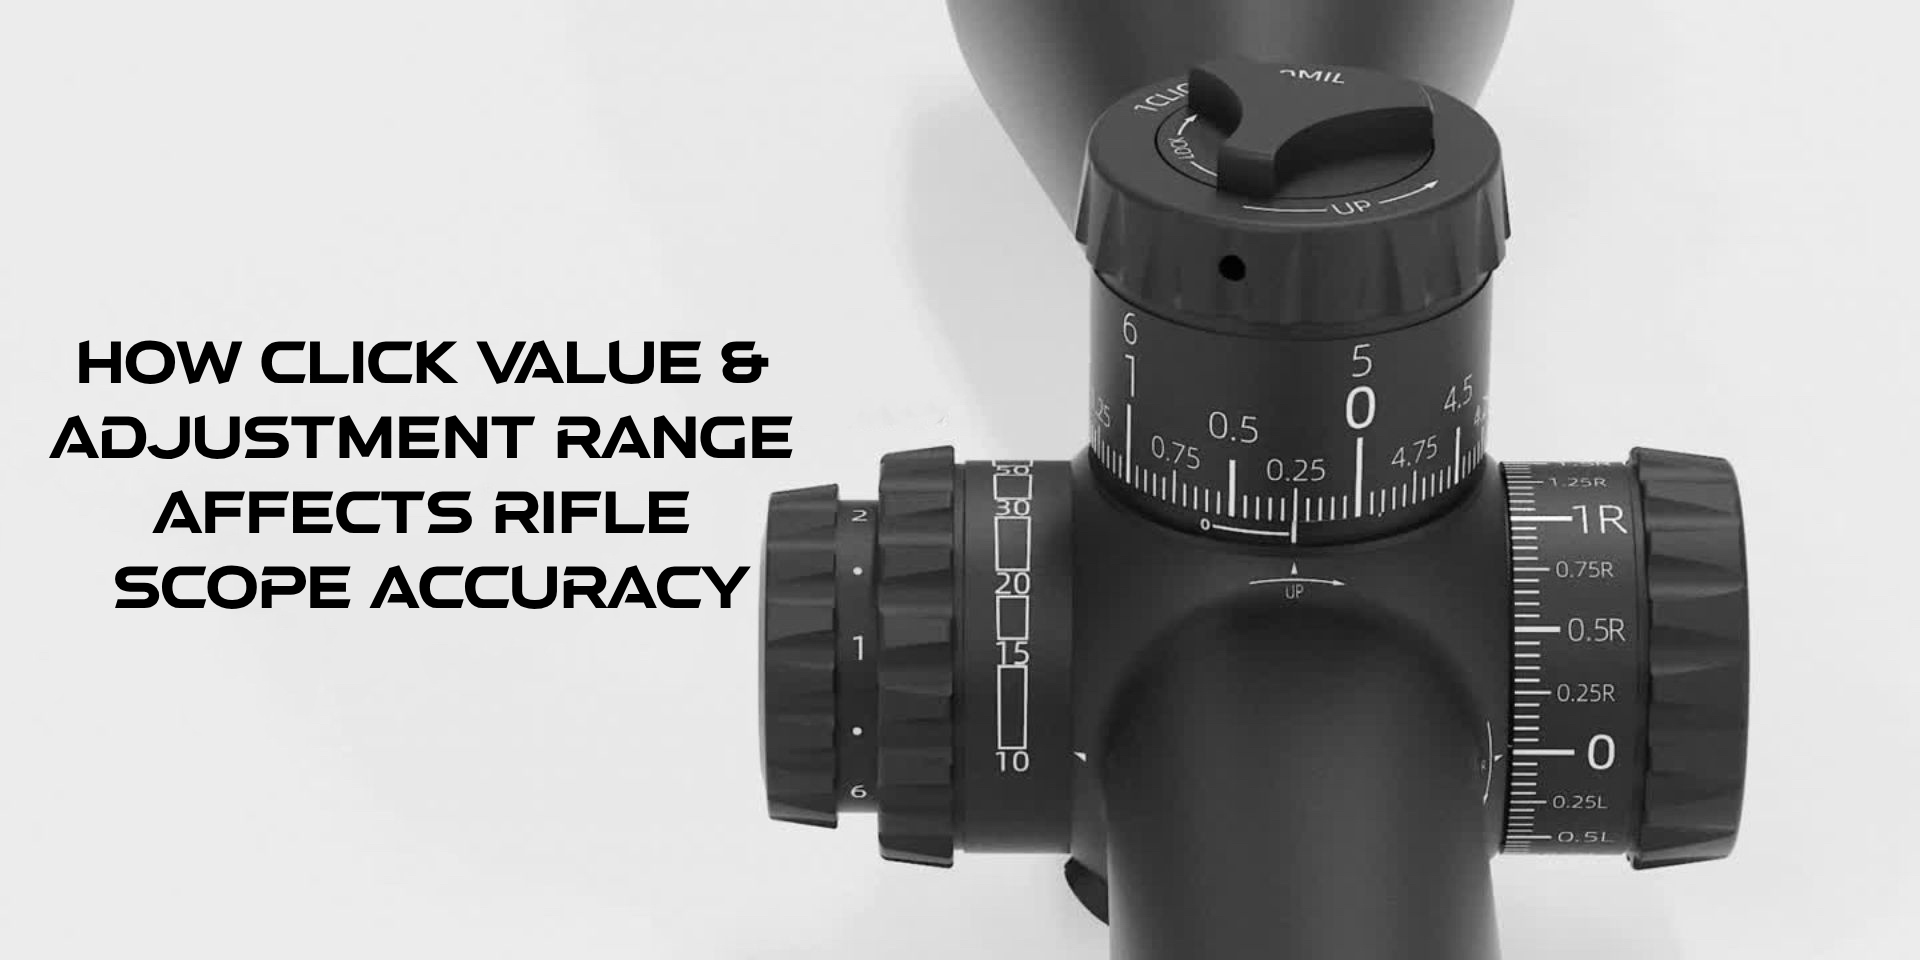
For MRAD scopes, adjustments can also be calculated directly from the reticle. If the impact point is 1.5 mils low, and the turret adjusts in 0.1 MIL per click, you would dial 15 clicks up to correct the error. To better understand scope click value and adjustment range, you can learn more here.
Make small adjustments and shoot another group to confirm the results.
Step 5 – Repeat the process
Continue the cycle: shoot → observe → adjust until the point of impact matches the aiming point.
After several groups, the bullet impacts should gradually move toward the center of the target.
(Scope Zeroing Process)
5. How Do You Know When Your Scope Is Properly Zeroed?
A rifle scope is considered properly sighted in when:
Multiple shot groups land consistently
The impact point is close to the aiming point
The results remain stable
Once the bullet impact matches the aiming point, fire one final group to confirm the zero. This final confirmation ensures your rifle scope sight in is reliable for future shooting. Ideally, groups should stay within an acceptable spread, typically around 1 MOA for precision rifles, depending on their capability. After zeroing, advanced shooters may also verify turret tracking accuracy by performing a box test to confirm adjustment consistency.
(Consistent Shot Grouping)
6. What Are Common Scope Zeroing Mistakes?
Even experienced shooters sometimes make mistakes when sighting in a rifle scope.
Common problems include:
A single shot does not represent the true impact point.
Movement can cause inaccurate results.
Always check the adjustment markings on the rifle scope.
Small changes are easier to control.
Incorrect parallax can shift perceived point of aim.
Shooting too quickly can cause barrel heating and lead to inconsistent results, while the first cold bore shot may impact differently from subsequent shots within a group.
Environmental factors such as wind, temperature, and altitude can affect bullet impact. When zeroing, try to shoot under stable conditions to ensure consistent results.
Avoiding these mistakes will make the process of sighting in a rifle scope much faster and more accurate.
FAQ
Q1. How far should you zero a rifle scope?
Rifle scopes can be zeroed at different distances, such as 50, 100, or 200 yards. 100 yards is the most common zero distance for general shooting and hunting.
However, some bullet manufacturers provide ballistic tables showing bullet drop at different distances. These tables often assume a specific zero distance, such as 50 or 200 yards. Following the recommended zero distance helps ensure the bullet drop matches the table.
Q2. How many shots are needed to zero a scope?
Most shooters typically fire a series of three to five shots for each group, as this allows them to determine the average point of impact more accurately
Q3. How often should you re-zero a rifle scope?
You should re-zero your scope if the optic is removed from the rifle, the rifle experiences a strong impact, you change ammunition, or the scope mounts are adjusted.
Q4: What is Zero Shift?
Zero Shift refers to a change in your firearm’s point of impact after your optic has been mounted or removed. It happens when the sight no longer aligns exactly with the barrel, often due to mounting issues, loose screws, or insufficient scope stability. Proper mounting, checking screws, and ensuring a secure fit can minimize Zero Shift.
Q5. Is there any difference when zeroing FFP and SFP scopes?
No, the zeroing process is the same for both FFP (First Focal Plane) and SFP (Second Focal Plane) scopes. You simply adjust the elevation and windage turrets until the bullet hits where you aim.
The difference lies in how the reticle scale works. In an FFP scope, the reticle measurements remain accurate at any magnification. In an SFP scope, the reticle measurements are only accurate at a specific magnification, usually the highest. Make sure the SFP scope is set to that magnification when using the reticle. You can find more information about FFP and SFP rifle scopes here.